Web Help
|
|
 Home
Home Back
Back Forward
 Contents
 Index
Index Product Help
 Support
 Print
Print Feedback
|
Back to |
Execute the installation
- Log on to your SAP system in client 000 as a user with SAP_ALL-authorization. Important: Do NOT use user SAP* or DDIC.
- To start the installation, call the add-on installation tool by using the transaction code SAINT.
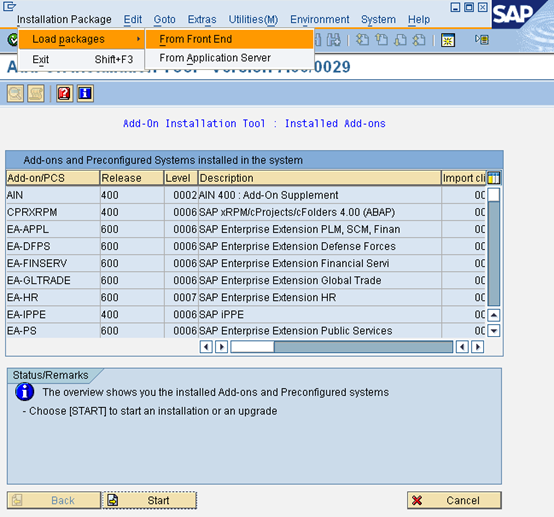
- In SAINT, on the Installation Package menu, click Load Packages, and then click Front End.
- Upload file WNSC40AI.SAR and decompress it to < >.PAT file.
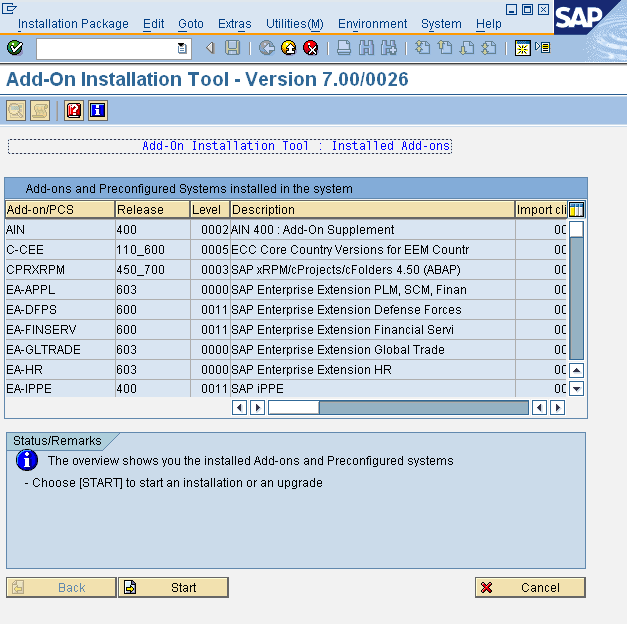
- After upload and decompression, click Start.
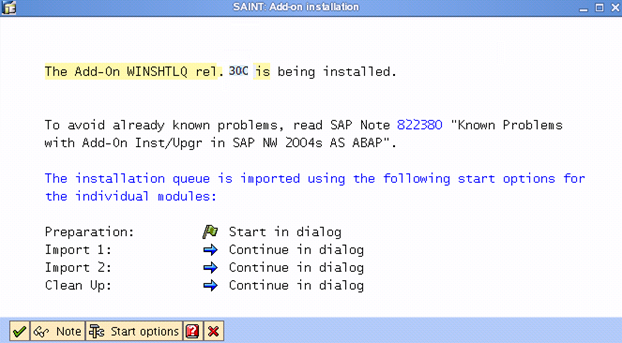
- Select the Add-on and click Continue.
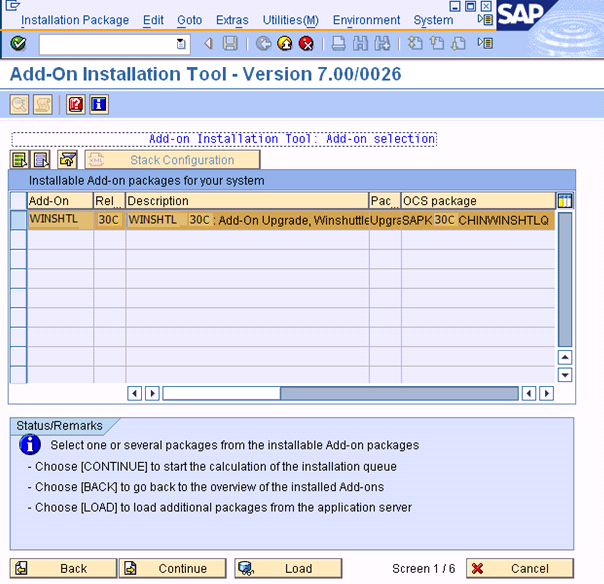
- Click CONTINUE
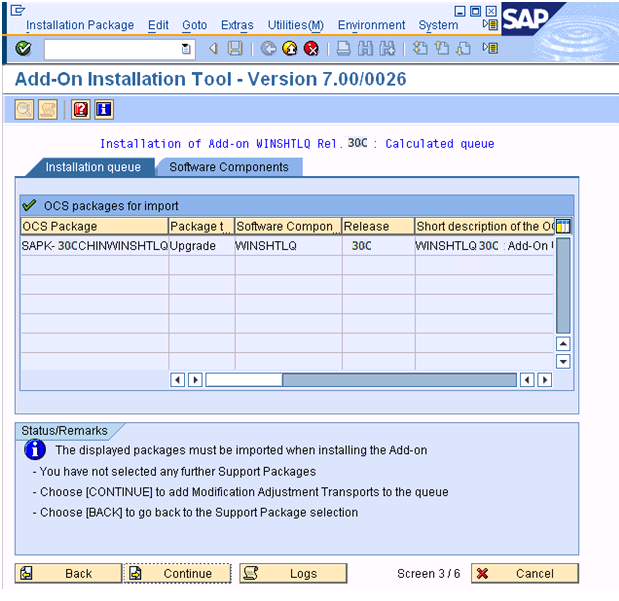
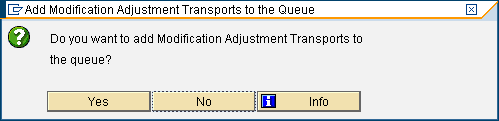
- If this window appears, this component has an independent and unique namespace that is assigned by SAP. Click No.
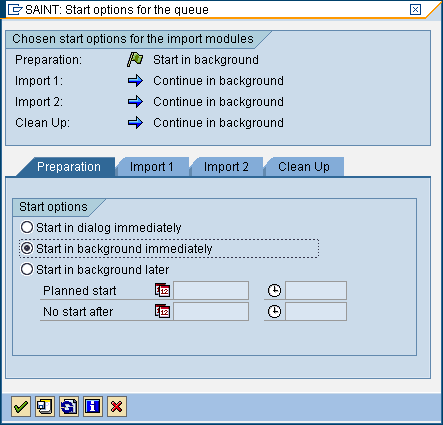
- Click Start options.
- Select Start in background immediately and click the green check mark to continue.
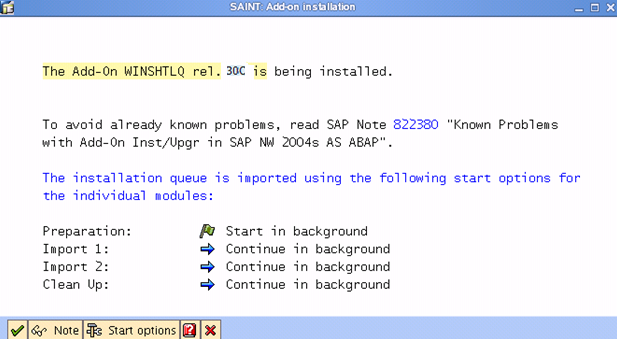
- Click the green check mark to import that package.
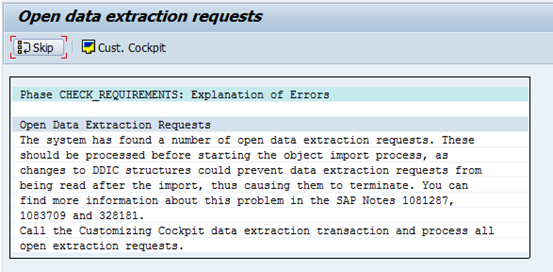
- If this window appears, the add-on has an independent unique namespace. Click Skip.
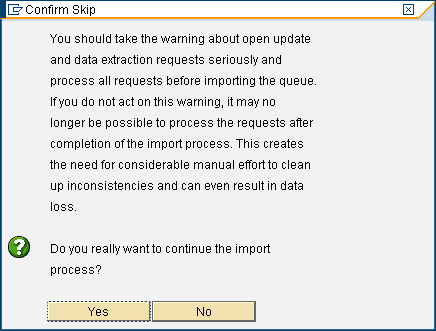
- Click Yes to continue the import.
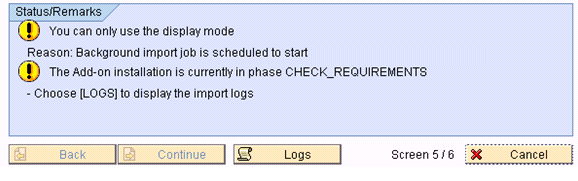
- Click Logs to view the import logs.
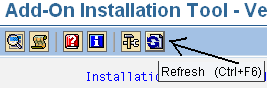
- Click REFRESH (CTRL+F6).
- Click Logs. Confirm that the installation completed successfully.

- After you have checked the logs, return to the Status/Remarks screen and click Finish.
|
Also in this section |
 Trademarks


