Web Help
|
|
 Home
Home Back
Back Forward
 Contents
 Index
Index Product Help
 Support
 Print
Print Feedback
|
Back to |
Install Winshuttle Add-on 10.7 on ERP6-710-711
1. Prerequisites for installation
These instructions apply only to single installations of Winshuttle Add-on version 10.7. They are to be used by new customers to install function-module functionality for version 10.7.
Ensure that any old version of the Transaction function module for 10.6 or earlier is removed. See Deleting the function module for previous versions of Winshuttle Transaction.
Ensure that the system does not have any prior version of the Query component WINSHTLQ. If WINSHTLQ is present on the system, you should not proceed with a new installation, but instead should complete an upgrade, which will upgrade the Query component and add the Transaction component. See Upgrade for ECC5.
- Ensure that you import the current SPAM/SAINT update (version 0018 or later for SAP NetWeaver 04). To confirm the version, compare the short text of the last imported SPAM/SAINT update (SAPKD*) with the short text of the SPAM/SAINT update in the SAP Service Marketplace. If the SAP Service Marketplace contains a more current version, import the new SPAM/SAINT update. For more information, see Note 19466.
- Use the current R3trans and tp for the installation. (R3trans version 6.13 release 640 – 26.02.07 or later on SAP NetWeaver 04, tp version 340.16.31 (release 640) or later).
- Ensure that your system has 5 MB available in the transport directory.
2. Prepare for installation
To load the package directly from front-end
- Ensure that you have the latest version of the SAPCAR tool available in the server
Skip these steps if you have already selected to load from front-end
To load the package with the add-on installation tool from the application server
- Log on as user:
<sid>adm to UNIX
<SID>OFR to AS/400 (IBM eServer iSeries)
<SID>adm to Windows NT
- Change to the transport directory of your SAP System. The transport directory also appears under the name Transaction AL11 under DIR_TRANS.
- Extract WNSC40BI.SAR with latest version of SAPCAR tool, which becomes the < >.PAT file. Ensure the <>.PAT file is extracted to "in" subdirectory of "EPS". "EPS" directory is located under transport directory.
3. Install
- Log on to your SAP system in client 000 as a user with SAP_ALL-authorization. Important: Do NOT use user SAP* or DDIC.
- To start the installation, call the add-on installation tool by using the transaction code SAINT.
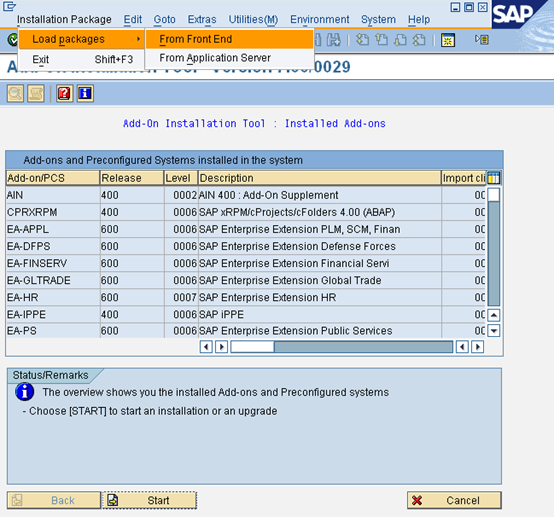
- In SAINT, on the Installation Package menu, click Load Packages, and then click Front End.
- Upload file WNSC40BI.SAR and decompress it to < >.PAT file.
- After upload and decompression, click Start.

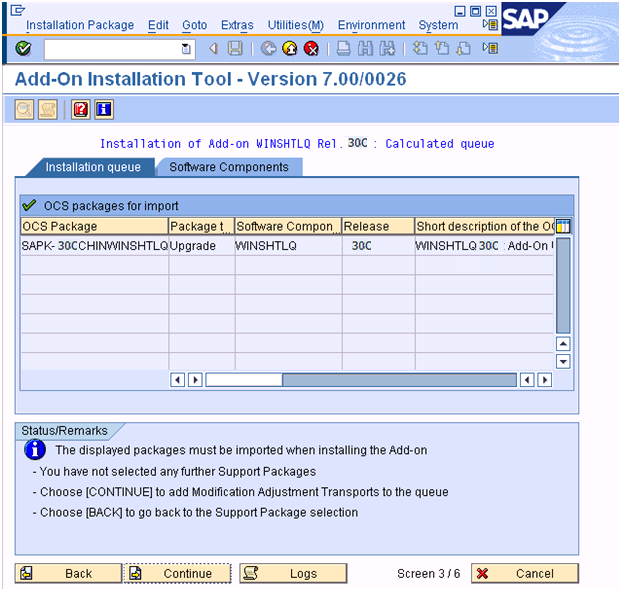
- Select the Add-on and click Continue.

- Click CONTINUE
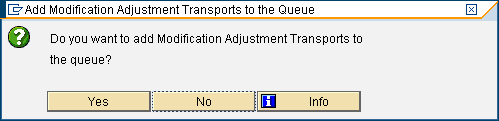
- If this window appears, this component has an independent and unique namespace that is assigned by SAP. Click No.
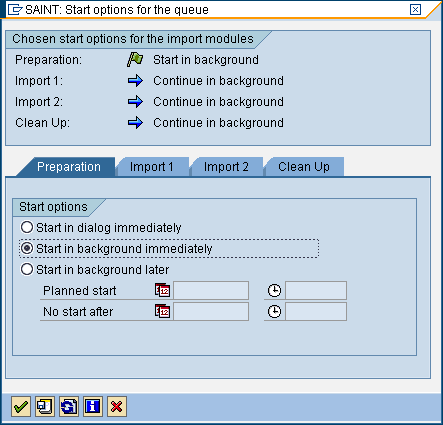
- Click Start options.
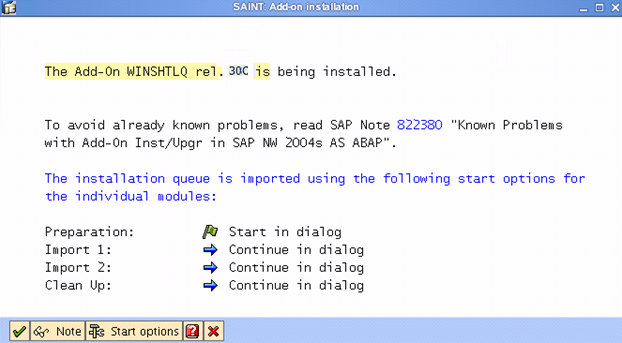
- Select Start in background immediately and click the green check mark to continue.
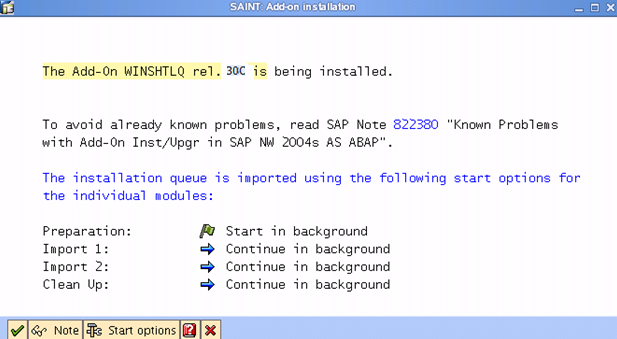
- Click the green check mark to import that package.
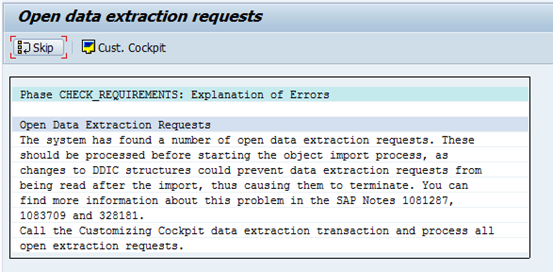
- If this window appears, the add-on has an independent unique namespace. Click Skip.
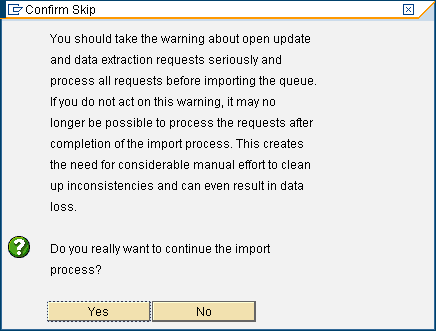
- Click Yes to continue the import.
- Click Logs to view the import logs.
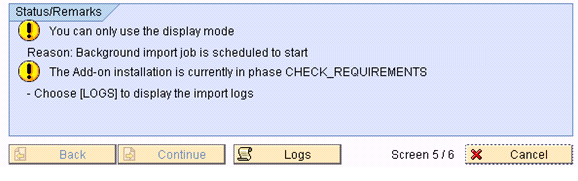
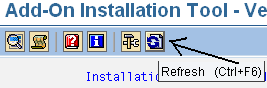
- Click REFRESH (CTRL+F6).
- Click Logs. Confirm that the installation completed successfully.
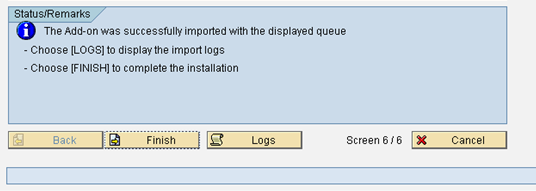
- After you have checked the logs, return to the Status/Remarks screen and click Finish.
4. Authorizations required by the administrator and end users
To ensure that authorizations are provided, create two roles with authorizations as shown below. You can name the roles according to the conventions in your company, or add the authorization in the respective user roles as you want
For Winshuttle add-on Administrator
- Add authorization object S_TCODE
- Give the following values for TCD: SM30
- Add authorization group S_RFC
- Give the following values for ACTVT: 16 Execute
- Give the following values for RFC_NAME
SMTR
- Give the following values for RFC_TYPE
FUGR Function Group
- Add authorization object
S_TABU_DIS
- Give authorization group value of table /WINSHTLQ/QRSAOB and /WINSHTLQ/TRCTAB.
(Initially no authorization group value is assigned to /WINSHTLQ/QRSAOB and /WINSHTLQ/TRCTAB. Enter the value &NC& denoting "w/o auth. group")
If the administrator is also an end-user, add the following authorizations.
For Winshuttle, add-on User
- Add authorization object S_TCODE
- Give the following values for TCD: SM30
- Add authorization object S_RFC
- Give the following values for ACTVT: 16 Execute
- Give the following values for RFC_NAME
/WINSHTLQ/*
- Give the following values for RFC_TYPE:
FUGR Function Group
- Add authorization object
S_TABU_DIS
- Give authorization group value of table /WINSHTLQ/QRSAOB and /WINSHTLQ/TRCTAB
Initially no authorization group value is assigned to /WINSHTLQ/QRSAOB and /WINSHTLQ/TRCTAB. Enter the value &NC& denoting ‘w/o auth. group’.
|
Also in this section Import the transport files for new ERP6-710-711 installations |
 Trademarks


