To install CENTRAL, log on to the server that is hosting the SharePoint web front end as an account that is both a SharePoint Farm Administrator and a local administrator.
NOTE: The install process is in English. You can change the locale after CENTRAL is installed.
- Run Setup.

The Winshuttle CENTRAL Solution Wizard appears.

Winshuttle CENTRAL setup wizard
- Click Next. The prerequisites for CENTRAL installation are checked. If all the prerequisites are satisfied, the Next button is enabled. Click Next again.
During the prerequisites check, the Chart controls for .NET 3.51 may be marked as missing, even if the .NET is already installed. To fix this error, a download link should appear during the prerequisite check.
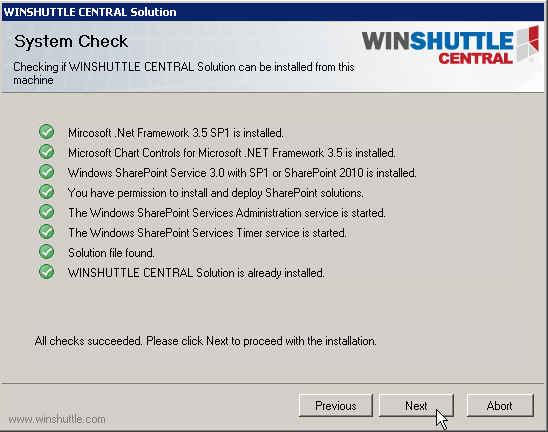
System Check
- On the End-user License Agreement page, if you accept the terms of the license agreement, select the checkbox and click Next.
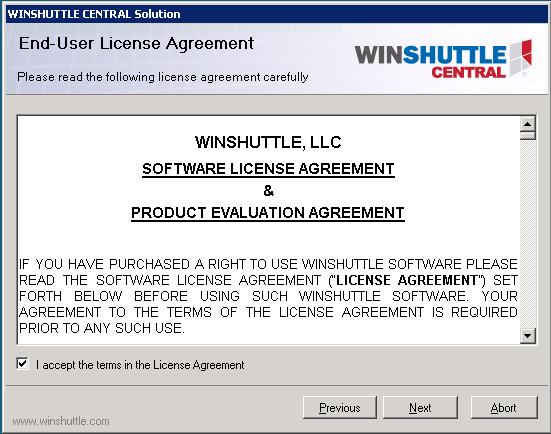
End User License Agreement
- On the Winshuttle CENTRAL Site definition page, select a Site Definition mode.
- Site Definition - (Recommended) While creating the SharePoint Site, the SharePoint Administrator can see the Winshuttle tab in the Site Templates list. By selecting the Winshuttle template, the SharePoint Administrator or the Site Collection Administrator can create the CENTRAL Site.
- Non Site Definition - After installation, the administrator must create the Team site. This feature converts the existing team site to a CENTRAL Site. No Custom Site template is installed.
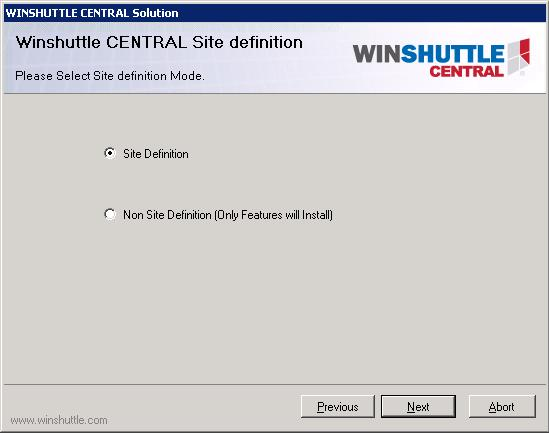
CENTRAL Site definition
- Click Next.
- The Site Collection Deployment Targets screen appears. Select the web application of the SharePoint site on which you want to install CENTRAL.
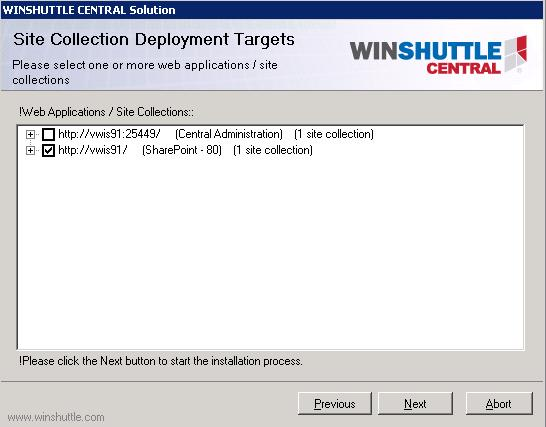
Site Collection Deployment Targets
- After the installation is complete, click Next.
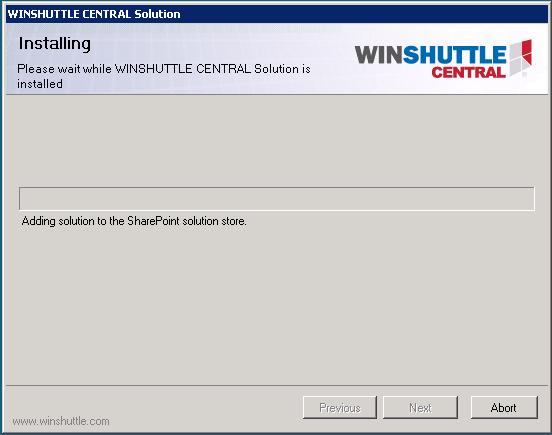
Install progress
- After the CENTRAL solution is installed, Winshuttle.eshuttle.database must be installed. The installation of the database starts automatically, but note that the database installer may take several minutes to start.
NOTE: If the database installer does not start, go to the root of the CENTRAL setup folder, open the folder eShuttleDBSetup, and then click Setup.exe to start the setup manually.
- Click Next.
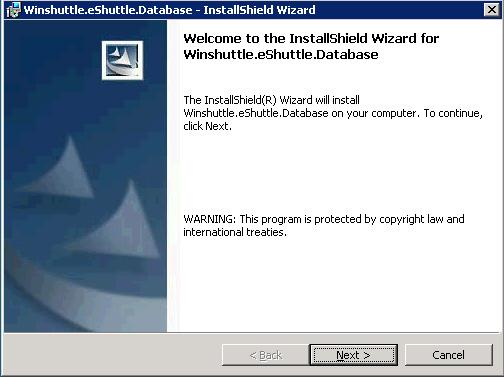
eShuttle.Database installation
- Type in your database server name or click Browse to view all the available servers. Select the authentication type. Click Next.
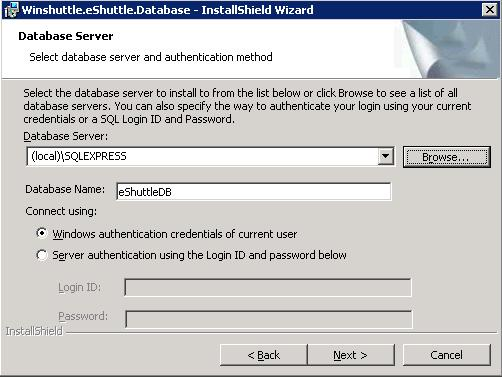
Database parameters
- Click Install to start the installation.
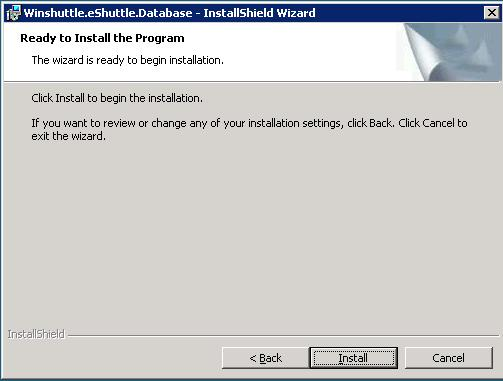
Ready to install the program.
- Wait while the database is installed.
Database installs progress bar
- Click Finish to complete the installation.
Installation complete
- Verify the Database eSHUTTLEdb has been installed in the SQL Server instance.