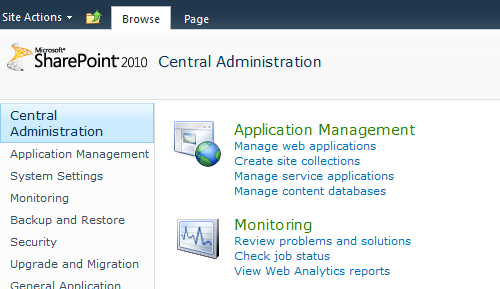
Create Site Collections under Application Management

Note: For the German language version of SharePoint, a sharp "s" ß in the URL of path or in a site name causes errors. If the version of CENTRAL and the versions of other Winshuttle products are earlier than 10.3, special characters in other locales when used in paths may also produce errors. For more information, see "Known issues with special characters in non-English localizations of Microsoft SharePoint".
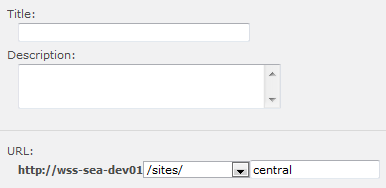
Site Title, Description, and URL
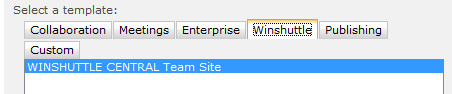
Winshuttle template selection
The site collection will be ready to use when the Top-Level Site Successfully Created page appears.

Top-level site successfully created