 Home
Home Product Help
 Support
 Print
Print Feedback


Step 1: Create name templates
More information
In the following example, we use Winshuttle Designer 10.6 to create a Name Template called VendorRequestNumber.
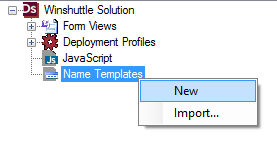
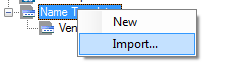
| In the Designer Solution pane, right-click Name Templates, and then click New. |
|
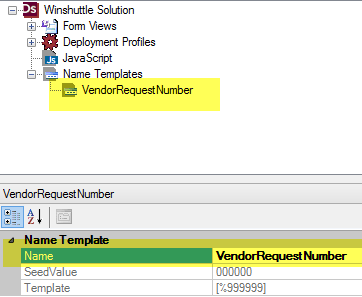
| In the Properties Pane, next to Name, type VendorRequestNumber. |
|
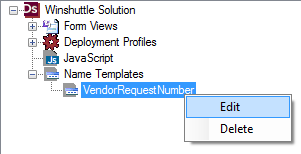
| In the Solution pane, right-click the newly created Name Template (VendorRequestNumber), and then click Edit. |
|
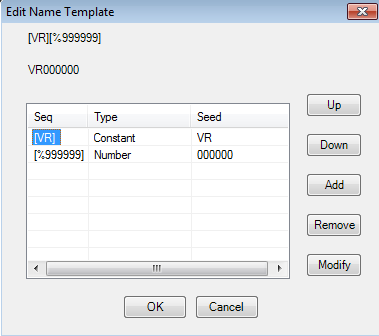
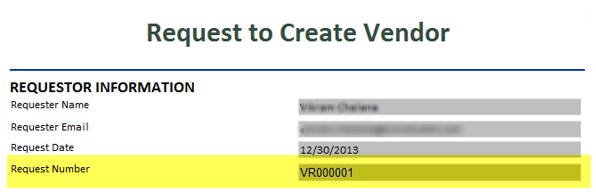
| Assign the Name Template values as shown at right. This will generate a number format that generates numbers as VR + 6 digit number, such as VR000001. |
|
| Once the Name Template is created, we'll import it into the solution. In the Solution pane, right-click Name Templates, and then click Import. |
|
Creating the field in InfoPath
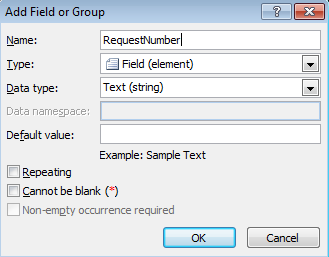
| Once you've created and imported your Name Template into the your solution in Winshuttle Designer, you need to connect it to a field in Infopath. | Adding a Field or Group in InfoPath.
|
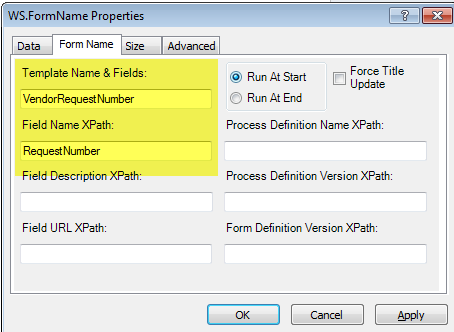
| Then you'll need to add and configure the Winshuttle FormName control properties. |
|
| Click the FormName tab, and then configure the FormName control properties as shown in the example at right. |
|
| Testing our final output (Request Number). |
|
 Trademarks