Execute the installation
- Log in to your SAP System in client 000 as a user with SAP_ALL-authorization. Do NOT use user SAP* or DDIC.
- To start the installation, call the add-on installation tool transaction code SAINT.

- On the Installation Packages menu, point to Load Packages, and then click From Front End.
- Upload the file WNSQ10II.SAR
- Decompress to < >.PAT file
- After uploading and decompressing the file, click Start.
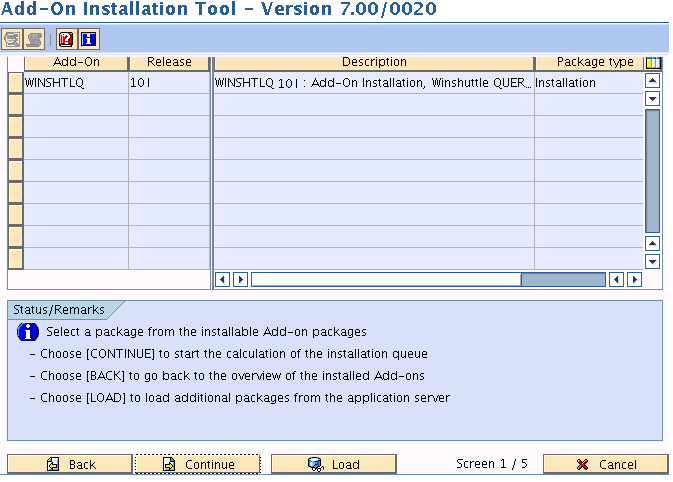
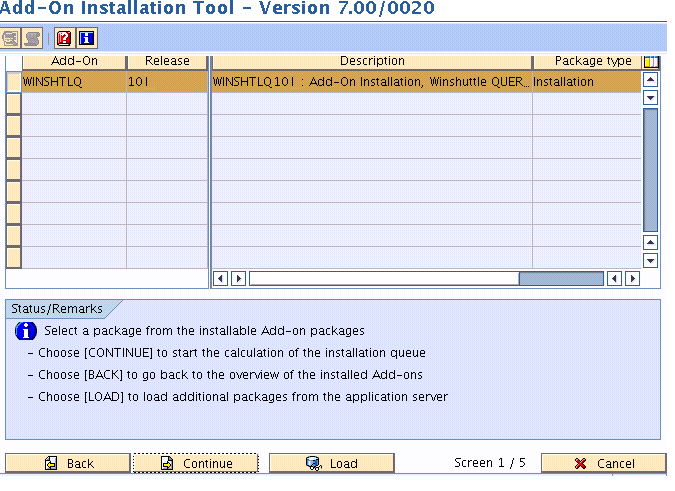
- Select the Add-on and click Continue.
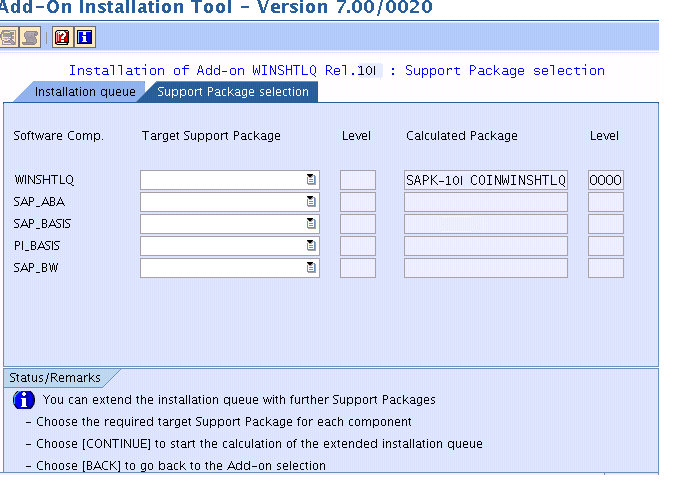
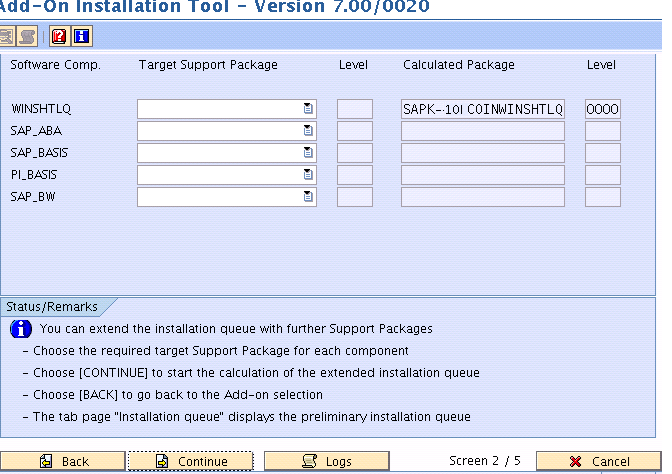
- Click Continue.
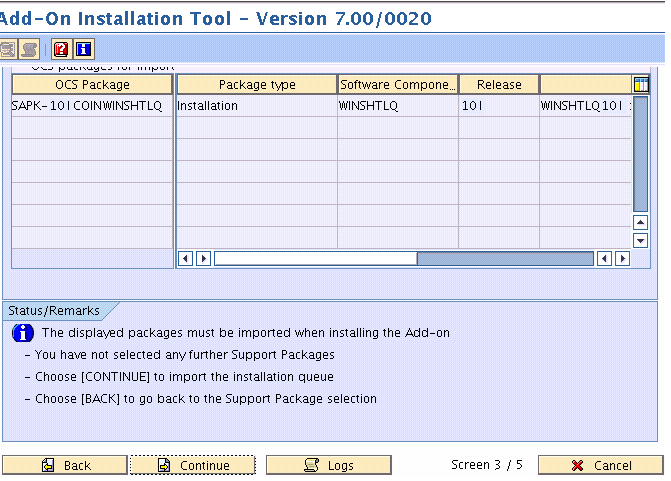
- Click Continue.
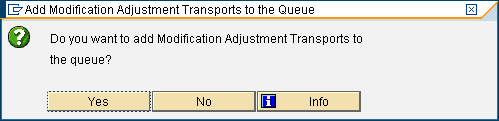
- If this window appears, this component has an independent and unique namespace assigned by SAP. Click No.
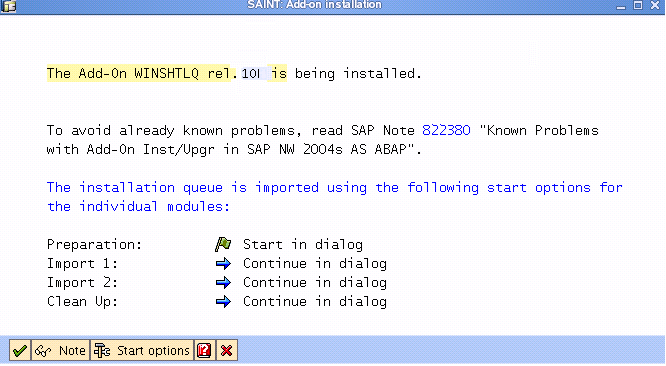
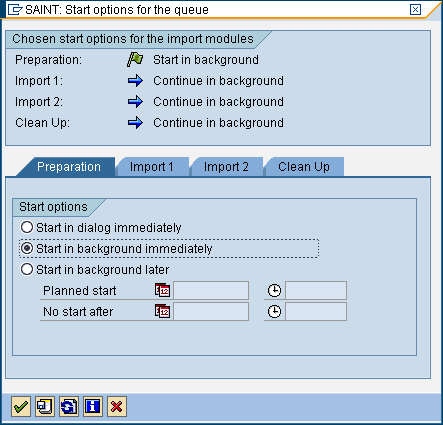
- Click Start options.
- Select Start in background immediately and click the green check mark to continue.
- Click Import to continue.

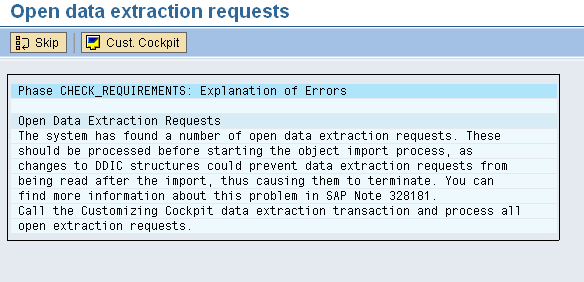
- If this window appears, the add-on has independent unique namespace. Click Skip.
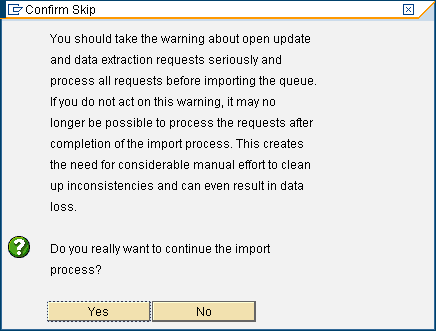
- Click Yes to continue import.

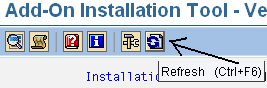
- Click Refresh until the import finishes.
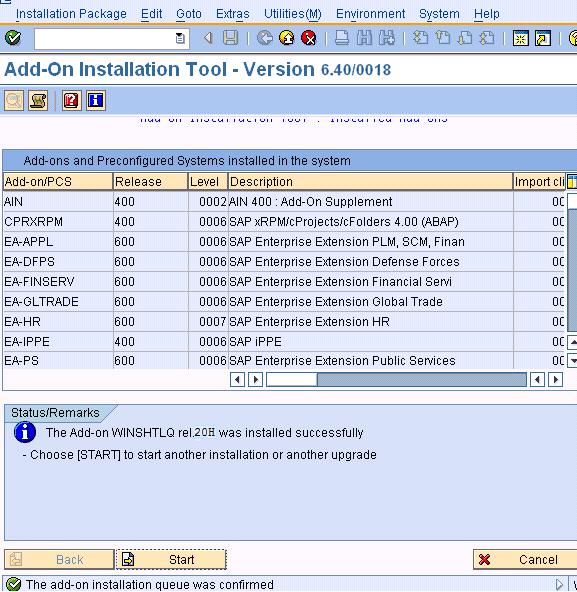
- When the installation finishes, click Logs to view the import logs.
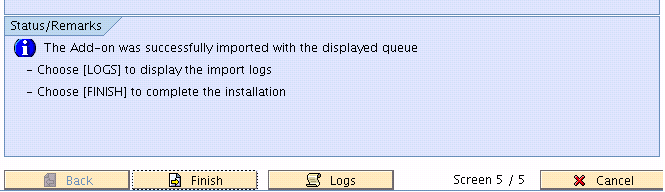
- After you have checked the logs, go back to previous screen and click Finish.