Applies to:
Installing Winshuttle Foundation User Governance
User Governance On Premise trusted installation
Foundation User Governance 11.x installation
- Post-installation-configuration steps
- Activating a new installation
Installation
- Right-click Winshuttle_Central_app_x64.exe, and select Run as Administrator.
- Click Yes.
- Click Install.
- Accept the Licensing Agreement, and then click Next.
- On the Check Requirements screen, review the requirements, and then click Next.
- Enter the following information:
- Website Name: The name you want to give to your Web site.
- Physical path: Where the program files will be installed to. Type a path or click Browse.
- Address: The IP address for the server. You can type a specific IP address, or select All Unassigned, which means the server will get an available IP address from the server. All Unassigned is the recommended setting.
- Port: The port number used to communicate through by the server. You can use any port number that is not blocked.
- SSL Certificate: IIS Express Development, WMSVC, or Winshuttle_Central_0365.
Note that the selected SSL Certificate should be already installed and configured by your IT team for your environment.
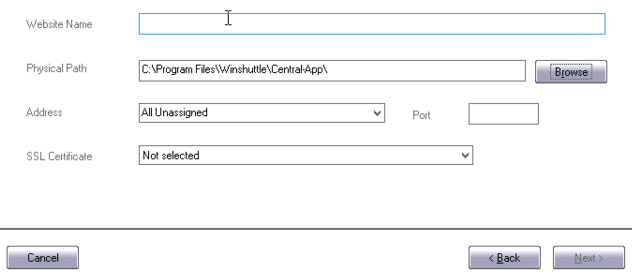
- Click Next.
- Enter the following information:
- Application Pool Name: The name you want to give to your Application Pool
- Application Pool Identity: Select Predefined, and then select an option from the drop menu (LocalService, for example), or enter the account credentials (Username/Password) in the indicated fields.
Configurable (i.e. entering a specific domain user account with the required credentials) is the recommended setting for the Application Pool Identity. The account should have Read/Write permissions to the Physical Path specified in the previous step, and it should be the database owner of the database that will be created in the next dialog.

Click Next.
- On the Database Details screen, enter the following information:
- Database Server: Type the path to an existing server, or click Browse to browse to one.
- Database Name: The name to give to your database.
- Authentication Mode (Windows Authentication or SQL Server credentials)
Note: If you want to connect to an existing database, uncheck "Uncheck if you want to connect to an existing database", and then provide the name of the database in the database name field.
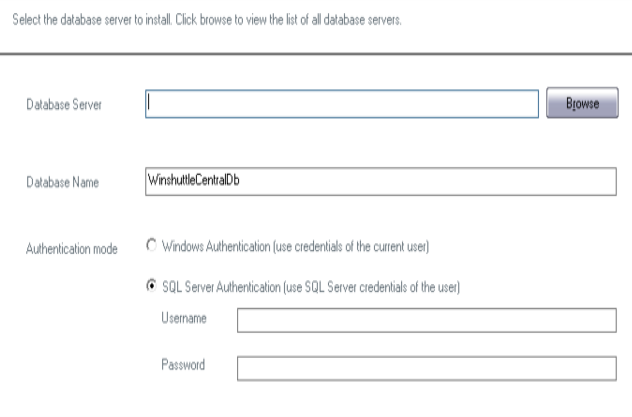
- Click Next.
- On the final dialog screen, click Back if you wish to go back and change settings; otherwise click Install.
- On the final screen, copy/make note of the Foundation URL, and then click Finish.