Uninstalling
Uninstalling from Control Panel (single .exe or .msi)
- Open Control Panel.
- In the list of programs, click Winshuttle Studio.
- Click Uninstall.
- Follow the instructions in the wizard to uninstall Studio.
Note: Make sure you save your work and close any Excel data files before you start the uninstallation process.
Uninstall using Single .exe: Command line, silent uninstallation
- Run CMD as administrator.
- Navigate to the installer file location and select the installer WinshuttleStudio__11.00.0000Setup.exe.
- Generate the response file as setup.iss.

- Give the commands as shown in the following image.

Uninstalling using .msi: Command line, silent uninstallation
- Run CMD as administrator.
- Navigate to installer file location and select the installer WinshuttleStudio_x64.msi.
- Give the commands as shown in the following image.

Network uninstallation
Using Microsoft SCCM
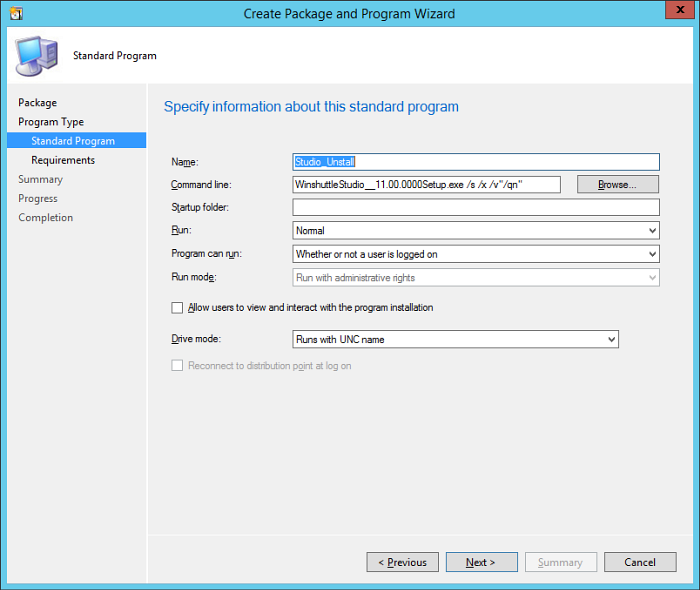
- Create the new Uninstall SCCM Package, using the same configuration settings for new SCCM package, except for the command line.
On the Standard Program tab, enter the information as shown in following image.
- Click Next, and then continue through the wizard, using the same configuration settings for Distribute Content and Update Distribution Points that you used for the new SCCM package.
Using SysInternals PsExec tool
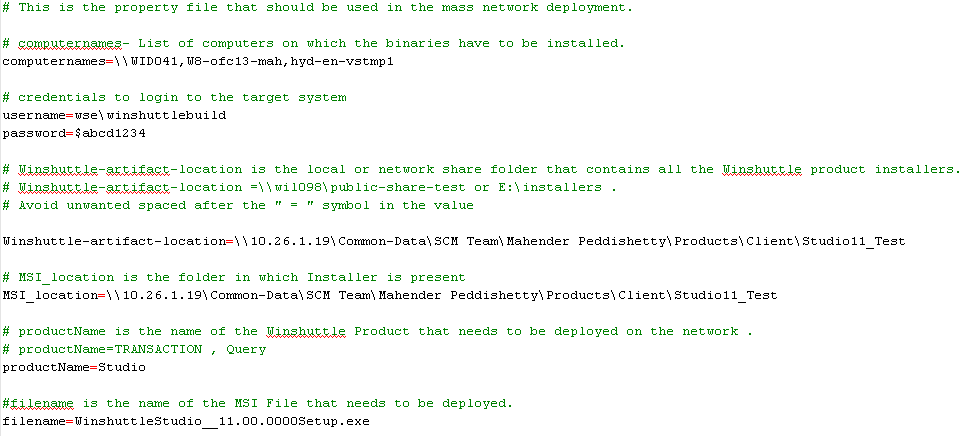
Network deployment using PSExec tool requires the below list files structure as shown in the following image.

deploy.properties file:
Update the file properties, based on your deployment needs.
Examples include machine names, the product to be installed, etc.
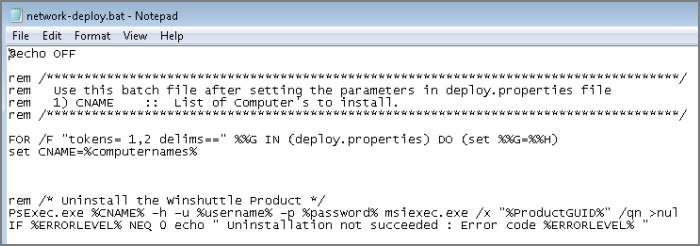
network-deploy.bat file:
The batch file reads the deploy.properties values and installs the product using the PsExec tool.
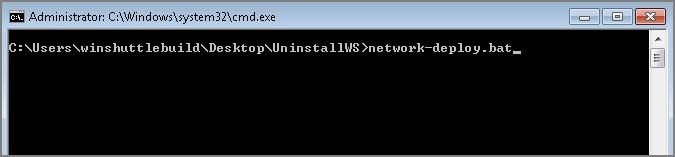
- Run CMD as administrator.
- Type the directory path of the UnInstallWS folder, and run the batch file as shown in the following image.