|
|
|
The following procedure demonstrates how to create a form. This example is for a Time Off Request form that employees can use to request their manager’s approval for time off from work. You can create forms as needed for your business environment by modifying this procedure as appropriate. For example, you can replicate your existing paper-based forms.
To create a Time Off Request form:
New InfoPath forms that are intended to work independent from Workflow Solutions must be created by using InfoPath Form 2007 filler.
A text box appears on your form just to the right of the Form ID label.
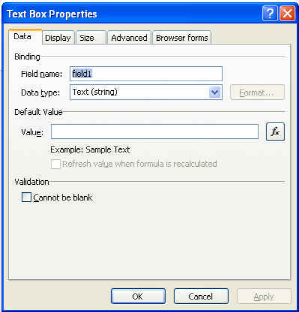
The Text Box Properties dialog box appears.
Control Name |
Control Type |
Field Name |
Additional Settings |
Requestor |
Text Box |
requestor |
None |
Current Date |
Date Picker |
currentDate |
None |
Start Date |
Date Picker |
startDate |
None |
Return Date |
Date Picker |
returnDate |
None |
Number of Days Off |
Text Box |
totalDaysOff |
Select Whole Number (integer) as the Data Type |
Notes |
Text Box |
notes |
In the Display tab, enable Paragraph Breaks and Wrap Text In the Size tab, set the Height to 50 and the Width to 250 |
The ShareVis.ProcessControl custom control facilitates the flow of data between your form and its associated  workflow. See Using Winshuttle Designer for instructions for creating a workflow.
NOTE: Do not copy and paste custom controls in InfoPath.
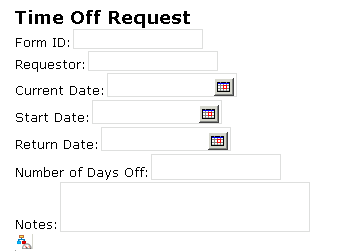
Your Time Off Request form should now look like this:
NOTE: The InfoPath filename cannot contain hyphens. It is best to use letters and numbers only.
NOTE: The form you created is called View 1 by default. It is the default view of your form data and will be used in any associated workflow unless you specify a different form view. For information about creating and specifying different views of your form data, see "Working with Form Views" later in this section.
NOTE: Your form is now saved on your local file system, but it is not saved on your Form Workflow site until you publish it. Continue to the next section for instructions for publishing your form.
|
See Also Adding Winshuttle Designer Custom Controls to InfoPath Promoting InfoPath Form Fields to SharePoint Exporting InfoPath Form Fields as SharePoint Columns |