 Home
Home Contents
 Product Help
 Support
 Print
Print Feedback
Create a solution from a template
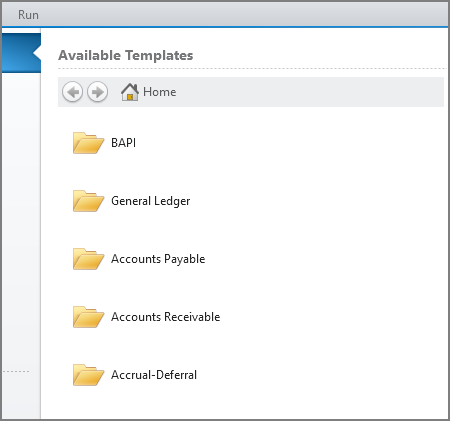
Winshuttle Journal Entry Management (JEM) provides several default templates, organized in General Ledger, Accounts Payable, Accounts Receivable, and Accrual/Deferral folders.
JEM also provides one BAPI-based template. For more information about using the BAPI-based template, see BAPI-based solutions.
In JEM for Winshuttle Foundation, you must store the template in Foundation. For more information on configuring Foundation, see the Foundation Help Center.
JEM adds efficiency by allowing multiple templates or data sheets to be added to one workbook. The entire workbook is submitted to Foundation, which triggers one workflow for all templates.
To author solutions in JEM, you must have the Transaction Developer role in Foundation.
Choose the template
- Click the File tab, and then click New.
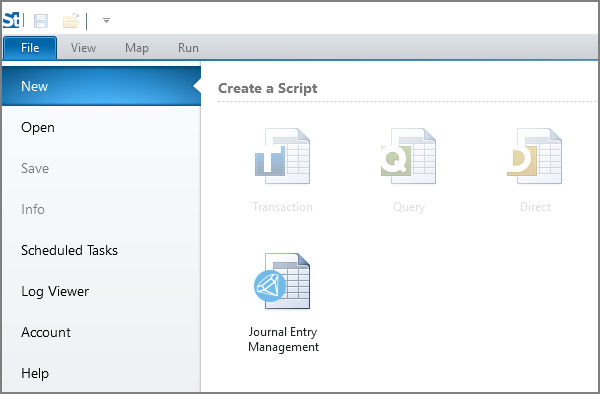
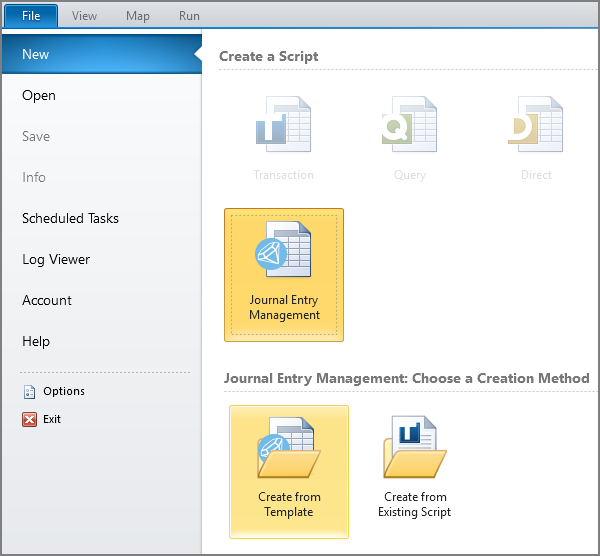
- Click Journal Entry Management, and click Create from Template.
- Double-click the folder for the business process that you want to use. Or click BAPI to use the BAPI_ACC_DOCUMENT_POST BAPI.
- Click the transaction code that you want to use.
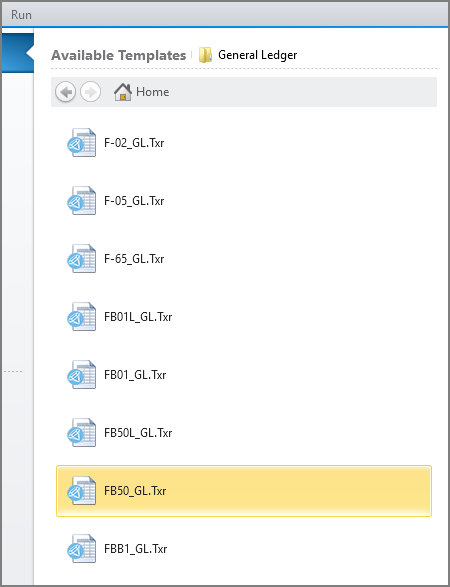
- Click Open Template.
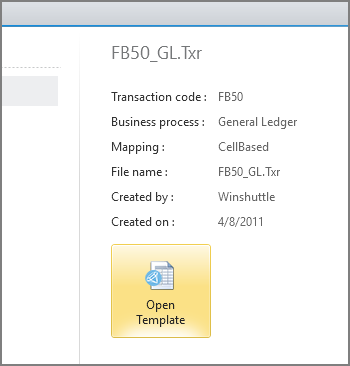
The template opens on the Map tab, with cell-based mapping.
If you do not see a field that you need for your solution, you might be able to add it to the Mapper. For more information, see Add fields.
To map the added fields, type a cell in the Value box or drag from a cell in the data preview up to the field row in the Mapper. The cell that you select in the data preview will contain the data, so choose a cell that is one column to the right or one row below where you want the header to appear.
Set the script properties
- Choose the JEM actions: Post, Park, or Save as Completed.
Important: At least one action must be specified before you can publish the solution to an Excel worksheet.
You can select more than one action (Park and Post or Post and Save As Completed), but you cannot select Park and Save As Completed, because these are both parking functions.
Only Post is available for BAPI solutions. - To allow online validation and whole-document simulation, check the Allow validate and Allow simulate boxes.
- To attach the current workbook, check the Attach current workbook box.
Note: To set the default attachment mode, click File, click Options, click the SAP Settings tab, and then choose the mode from the Default attachment mode list.
- To write headers when you publish the solution, check the Write header item headers box or the Write line item headers box, or check both boxes.
- To change the maximum document length, type a new value in the Document length box.
- To allow the document to be split, check the Allow document splitting box and, if you want to split the document after a certain number of line items, type the number in the Split after line item box. The number cannot be greater than the document length.
The way that the runner splits the document depends on the transaction code. For more information about splitting documents, see Split documents.
Set the field properties
- To provide fixed values for line item fields when the document is split, select the field in the Mapper, check the Is split field box, and enter the value in the Fixed value for split box.
- Specify the posting date field, the debit/credit indicator field, and the document value field by selecting the field in the Mapper and then checking the box in the Properties panel.
For example, in the Mapper, select the row for the Posting Date in Document field, and then in the Properties panel, check the Is posting date box.
Important:
These properties must be set before you can publish the solution to an Excel worksheet.
The only exception is that you cannot specify a debit/credit indicator field for BAPI-based solutions, which use plus or minus signs in the amount field instead of a separate debit/credit indicator field.
If you specify a debit/credit indicator field in both the header and the line items, map the field to the same column or cell in the data set.To customize the debit/credit indicators, click the More button. (This is not available for BAPI-based solutions.)
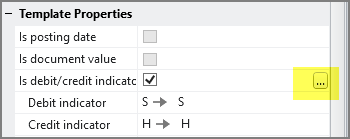
For more information, see Custom posting keys.
- Make a field mandatory by selecting the field in the Mapper and then checking the Data required box in the Properties panel.
- To provide a list of allowed values for a field, select the field in the Mapper, and then click the Allowed Values button in the Properties panel. For more information, see Lists of values.
- If you want a field to always use the same value, click Mapping Direction, click Fixed Value Upload, click No Change in Column <column letter>, and type the value.
JEM will remove that field from the mapped data set and automatically upload the value to SAP.
After you customize the template, the next step is to publish the solution.
More Studio customizations
When creating your Journal Entry Management solution, you can also use Studio features. See the following Studio topics for more information:
 Trademarks