 Home
Home Help Center
 Support
 Print
Print Feedback
Ws.FormName
Winshuttle Designer Controls
- Supported InfoPath controls
- Ws.Assignment
- Ws.Attachment
- Ws.Button
- Ws.Comment
- Ws.CurrentUser
- Ws.FormCompletionDelegation
- Ws.FormName
- Ws.FormValidation
- Ws.History
- Ws.Lookup
- Ws.ProcessControl
- Ws.Query
- Ws.SAP Field Lookup
- Ws.SharePointUserMap
- Ws.SharePointUsers
- Ws.URL
- Ws.ViewInfo
- Ws.WebService
- Ws.WorkflowParticipant
- Wso.WebService Lookup
With the Ws.FormName Control you can change a form name from its default setting (Form Name – Todays Date/Time) to something more customizable. The Ws.FormName control can look up a Form Name Template that has been developed in Winshuttle Designer, or it can render a text box in which a user can input a value and that value will be returned as the new Form Name when it is submitted to the Forms Site.
Download example (.wssln file)
Ws.Formname Properties
Property | Description |
Field Description XPath | The field name that should receive the description of the form. |
Field Name XPath | The field name that should receive the generated name. |
Field URL XPath | The field name that should receive the URL to the form. |
Force Title Update | If selected, executes the control to assign a form name even if a name already exists. |
Form Definition Version XPath | The field name that should receive the form version that is running. |
Process Definition Name XPath | The field name that should receive the process definition name that is running. |
Process Definition Version XPath | The field name that should receive the process definition version that is running. |
Run at End | Assigns the form name after the form is submitted. |
Run at Start | Assigns the form name when the form is started. |
Template Name & Fields | Comma-separated list of name template names and field names to combine into the name for the form. Example: FormNameTemplate,//my:field1,//my:field2 |
In order to use an auto-generated Form Name, you must first create a Form Name Template in Winshuttle Designer.
Creating and adding a Form Name Template
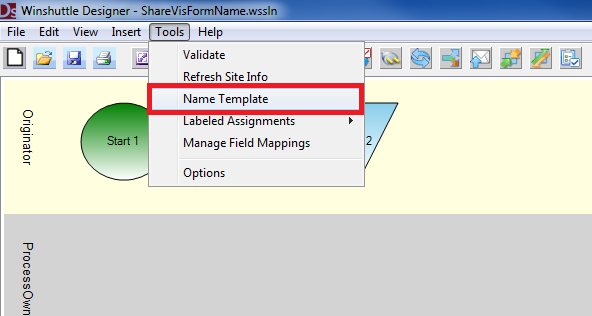
- On the Designer menu bar, click Tools, and then click Name Template.
- In the Name Template dialog box, enter the link to your FormEx site.
- Click Add to add a Form Template.
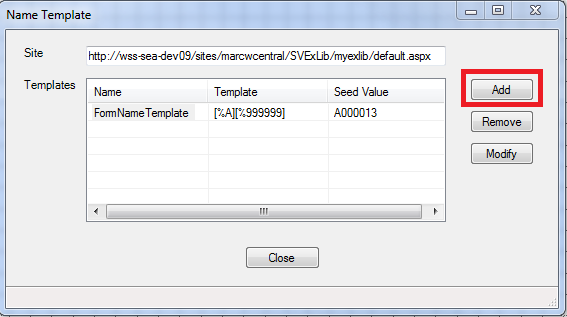
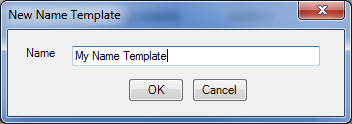
- Enter a name for your Name Template
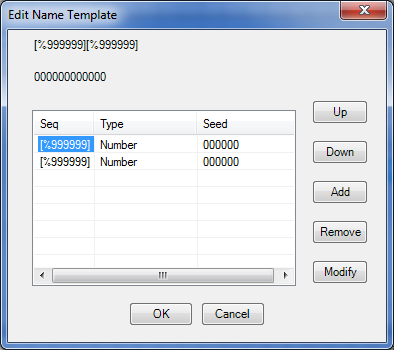
- Select the Name Template you just created and click Modify. You will be presented with the Edit Name Template dialog box with one standard entry:
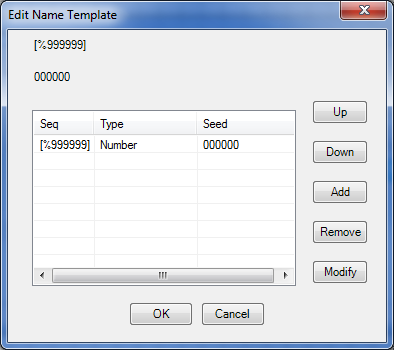
***You will need one entry for anything you want to generate. In this example, I will be using 2 entries. The first entry will be generating a Letter of the alphabet starting with the letter A. The second entry will be a 6 digit number starting with 000001. My first Form submitted should have the naming convention of A000001.
- Click the Add button. A new entry is added:
To make the letter first, we’ll modify the first entry of the name template.
- Select the First Entry and then click Modify.
- Change the Type from Number to Alphabetic.
- Enter the letter A for the Value.
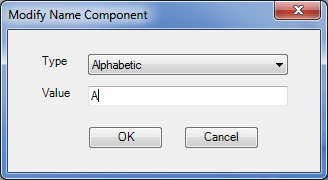
- Click OK twice, and then click Close.
Configuring the Ws.FormName Control to use the newly created Name Template
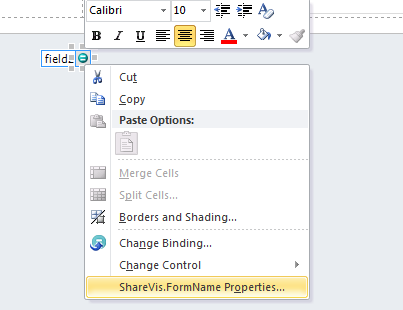
- Add the Ws.FormName Control to your form.
- Right click on the control and go into its properties.
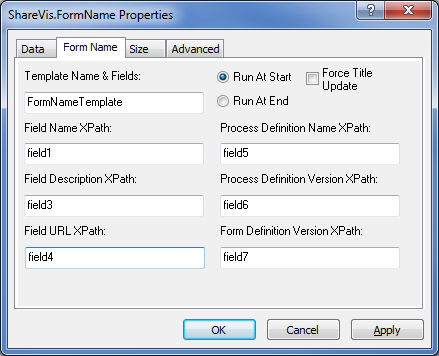
- In the Template Name & Fields property, enter the name of the template you just created

**It is a good idea to use the Run At End option so the form name isn’t generated until the very end. This will prevent the form from taking up numbers and creating gaps in your generated form name.
- Click OK and publish your form and workflow.
Additional Information/Options
If you want more information to be populated in your form, you have the following information available:
- Form Name
- Form Description
- URL to Form
- Process Definition Name
- Process Definition Version
- Form Definition Version
Refer to the above table at the beginning of the document for further explanation on what each of these attributes provide.
To use any of these attributes, you will need to create a text box within your form and provide the field name:
 Trademarks