Applies to:
Step 5: Install Server Worker
Back to
Server 10.6.1 installation
- Install Erlang and RabbitMQ
- Install Winshuttle Server Manager
- Run QueueDeployment Utility
- Modify the Web.Config file
- Install Server Worker
- (Optional): Configure Central for Autopost
Related topics
The following installation process applies to Windows Server 2008 (R2) 64-bit and Windows Server 2012.
- Run the Winshuttle Server Installer. On the Welcome page, click Next.

- Accept the License Agreement, and then click Next.
- Select Worker to install Winshuttle Worker. (Note: For performance reasons it is recommended that you install Manager and Worker on different machines, but you can install both on the same machine.) Click Next.

- Click Next to install Winshuttle Server to its default location or click Change to select a custom location, and then click Next.

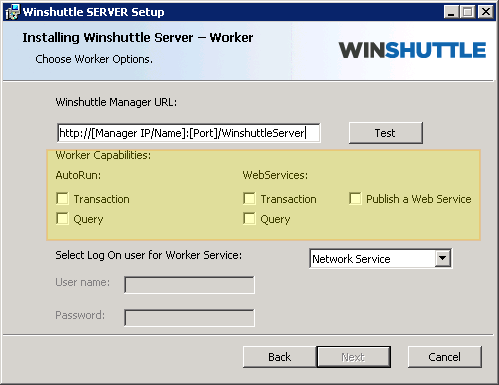
- In the Winshuttle Manager URL field, type the Winshuttle Manager URL, and then select the corresponding Worker Capabilities. (See How to get the Winshuttle Server Manager URL if you need help finding the URL. Note: Winshuttle Manager URL does not include any .svc name.).
- Select the Worker capabilities that you need, and then click Next.
- AutoRun: Run Transaction and/or Query scripts using Excel datasource.
- WebServices: Run Transaction and/or Query published web services using Winshuttle Forms or any custom form.
- Publish a web service: Publish Transaction and Query scripts with XmlForms as a datasource from Transaction and Query clients respectively.
Note: The following options are available in Winshuttle Server 10.7 Hotfix 2 (and later):
- Synchronous: Run Transaction and/or Query published web services using Winshuttle Forms or any custom form synchronously.
- Asynchronous: Run Transaction and/or Query published web services using Winshuttle Forms or any custom form asynchronously.
- Publish a web service: Publish Transaction and Query scripts with XmlForms as a datasource from Transaction and Query clients respectively.
- Enter logon user for the WinshuttleWorker Windows service. Although you can use the built-in Network Service account, it is recommended to use a domain user (i.e. a service account, which is typically exempt from password reset/change polices) as the WinshuttleWorker service identity. Click Next.
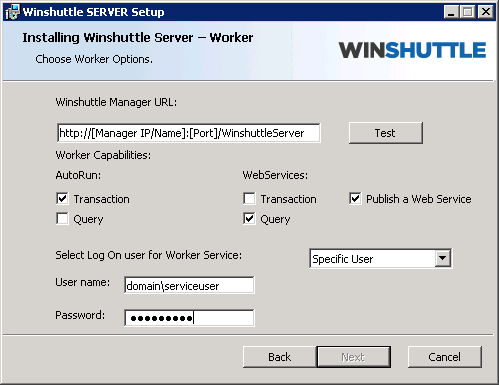
NOTE: The domain\serviceuser account should have ‘Logon as Service’ rights on the machine, otherwise you will receive an error message. ("Windows could not start the Winshuttle Worker service on the local computer.") See Assigning a user account Logon as Service Rights for more information.
- Click Install.
- After the installation is complete, click Finish.
NOTE: Installing Winshuttle Worker creates and registers a service on the machine called WinshuttleWorker. This service must be manually startedand running for Winshuttle Worker to operate. You can check the status in Services.msc snap-in; if it is not running, start the service.
Winshuttle highly recommends you update your Enterprise monitoring suite to include the WinshuttleWorker Service. In the event of service stoppage your monitoring suite should be configured to notify your administrator(s) and take automatic action to startup the service.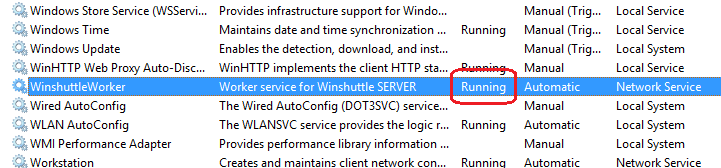
Optional—Test the connection: If Server Manager is already installed, you can verify the URL by clicking Test to verify the connection to the Winshuttle Server Manager. This test is optional; failing it will not prevent you from completing this installation.