Applies to:
Translating Composer forms to other languages
For additional information:
- (Advanced users) See $form.language in the Composer JavaScript reference guide.
This page describes two different methods of translating Composer form elements (field labels, drop-down options, etc.) into other languages. In addition, it covers Translation Overrides, which you can use to modify the translated values.
Important: The browser language must be set to English when translating solutions. Other browser languages are not supported.
On this page
Option 1: Use a translator service
Back to topYou can translate forms in Composer using either Microsoft Cognitive Services translation or Google translation.
Adding the translator code to Composer
Back to top- Once you have the code, click the Composer Start button
 , and then click Preferences.
- On the Preferences screen, click the General tab, and enter the key for either the Cognitive Services API or the Google API.

For more information about the Cognitive Services API and to get a key, visit the Microsoft Azure Text API website to create an account.
For more information about the Google Cloud Translation API and to get a key, see the Google Cloud Platform website. Note that Google released an upgrade for its APIs from version 2 (v2) to version 3 (v3). As a result, APIs v2 no longer works properly with Winshuttle forms. To make Google APIs work again, a small change must be made in the frmCommon.js file. See the instructions on the Support site.
- Click OK.
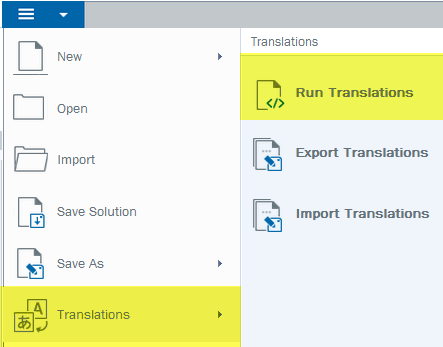
- In Composer, click the Start menu, click Translations, and then click Run Translations.
- In the Select Languages to Translate screen, under Select Language, click the arrow and then select one or more languages.
- Click Translate.
- Once the form is successfully compiled, click OK.
- On the ribbon, click Desktop to preview your form and view translations.

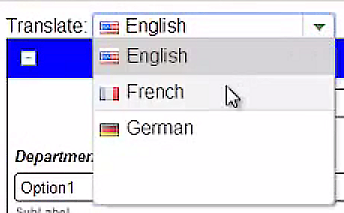
- In the preview, next to Translate, click the arrow and select a language.
Option 2: Export as a text file
Back to top
Composer translation text file example

- The Name is the Label ID
- The Value is the English text of the Label.
The Label text (the Value) can be translated into any language and then imported into the solution by specifying which language to update.
Note: The Name (or Label ID) should never be modified.
Prior to Release 11.1 you would need to keep a copy of any translated files; however with Release 11.1 any previously translated language can now be exported as well. Those labels that are new or have not been translated yet, will be shown in English.
Exporting to a text file
- Open your Composer form.
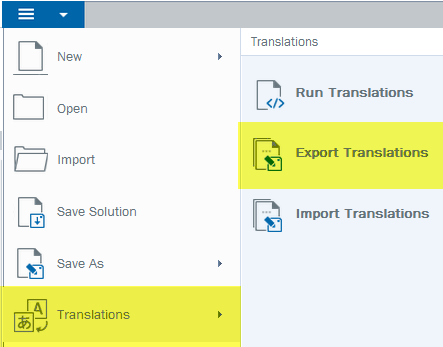
- Open the Composer Start Menu, click Translations, and then click Export Translations. This exports the solution file as a text (.TXT) file.
- Translate the exported text file. For example, send the file through a translation service.
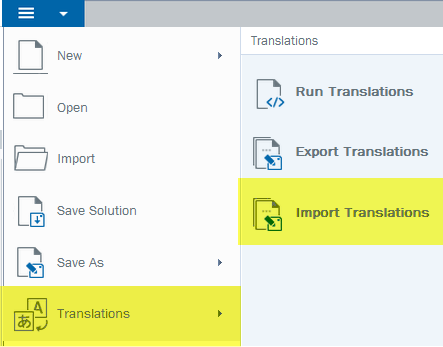
- Import the translated text file. Open the Composer Start Menu, click Translations, and then click Import Translations.
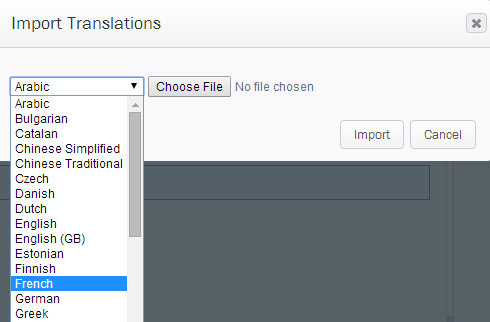
- On the Import Translations screen, click Choose File to browse to the translated file, and select the language of the translated text file from the drop-down menu.
- Click Import.
Using Translation Overrides
Back to topAfter you use the Import Translation functionality or the translation service, you can correct any mistakes or make changes to labels by using the Translation Override property.
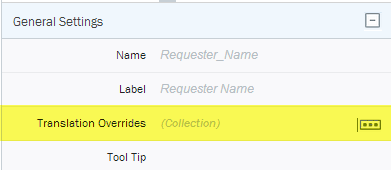
- In your Composer form, click the label of the field (not in the field itself) that you wish to translate.
- In the Properties pane, next to Translation Overrides, click the Options [...] button.
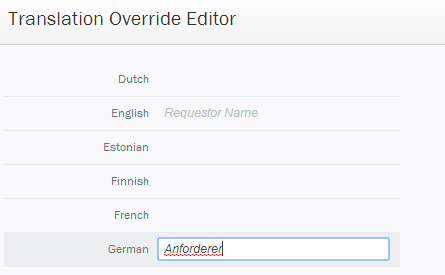
- In the Translation Override Editor, enter the desired translation(s) for the required language(s), and then click OK.
Note: If you make modifications to DropDown or ComboBoxes for which you've created options manually (i.e. the Range is set Manually), make sure you re-translate the solution before deploying it.