Applies to:
- Winshuttle Foundation
Creating a sub-process (loop) in a workflow
See also

|
To create a sub-process inside a workflow, you can insert a Loop node (also called a Loop Block). |
- Click the Workflow Tab.
- Click Loop Block.


- Draw the Loop node in a Swimlane.
- In the New Loop Wizard, select the following:
- Name: Type a name for the Loop. This name automatically appears as a new Workflow tab in the Composer Canvas.
- Approval Type: Click the arrow and then select None, Sequential Approval, or Parallel Approval (whichever is appropriate to your workflow).
- Approver Swim Lanes: Click in the empty field to add one or more approval Swim Lanes. (Note: This field is available only if either Sequential or Parallel Approval is selected under Approval Type.)
- Reject to Swim Lane: Click in the empty field to add one or more Swim Lanes that the workflow will be rejected to.

For a more in-depth example of a Loop, see step 5-1:Add approval and revision workflow loop of the Composer tutorial: Creating your own vendor master solution.
Advanced loop configuration
Back to topAfter a basic Loop node has been inserted, you will need to configure it in the Properties pane.
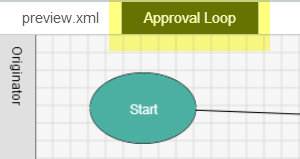
- Click the Workflow tab.
- In the Canvas, click the Loop node tab (see example below).
- Add any transitions required between the nodes in your loop.
- Start the loop workflow in the SAME Swim Lane as the workflow in the main canvas.
- Click Save.


|
Note:
|