Applies to:
Changing how a Winshuttle Composer form looks
You can configure the basic look and feel of a form by applying formatting (fonts, colors, borders, and more) to groups and/or elements in your form.
To change the formatting of a group or element:
- In the canvas, click the group or element that you wish to change.
- On the ribbon, click an option to change the formatting.
Note: In Composer, you can hover the mouse cursor over each option to open a tooltip that displays what the button does.
See below for a basic description of available formatting options for elements and groups.
Element and group formatting options
Back to topThe following formatting options can be applied to the text in your form elements and/or form groups.
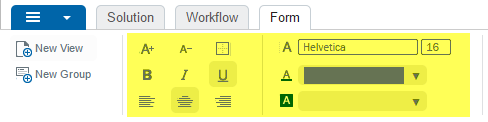
| Button | Description | Button | Description |
|
|
Increase the label size |
|
Left-justify a label |
|
|
Shrink the label size |
|
Center a label |
|
|
Toggle the border on or off |
|
Right-justify a label |
|
|
Boldface the label |
|
Change label font/size |
|
|
Underline the label |

|
Change label's font color |
|
|
Align the label on top of the element |

|
Change label's background color |
|
|
Align label in-line with the element, left-justified | ||
|
|
Align label in-line with the element, right-justified |
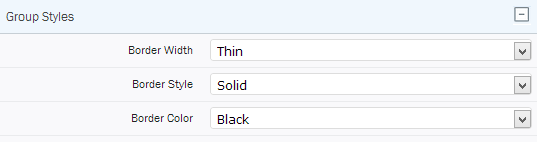
If you are changing a group, you can change the formatting of the border in the Properties pane.
- In the canvas, click the group you want to format.
- In the Properties pane, click Properties.
- Under Group Styles, click the drop arrow to change the Border Width, Border Style, and/or Border Color.
Using the painter to copy formatting
Back to topWith the Format Painter you can quickly copy all of the formatting from one group or element to another.

- Click the ‘source’ group or element that has the formatting you want to apply to another group.
- On the Form tab, click Painter.
- Click the ‘target’ group to which you want to apply the formatting.
- At the prompt:
- Click Yes to apply the formatting to all groups in your form.
- Click No to only apply the formatting to the single group that you clicked.
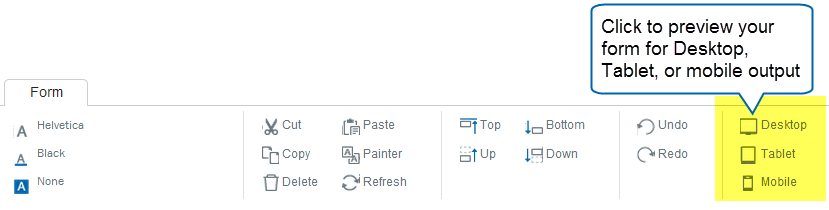
Previewing your form
Back to topOn the Forms tab, click the preview of your form you wish to see:
- Desktop for standard desktop browsers.
- Tablet for tablet PCs.
- Mobile for smartphone browsers.
Click the close button  to close the preview. (Note: You may need to make your browser full screen to see the close button.)
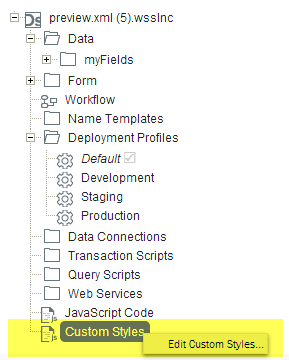
Adding custom CSS
Back to topIf you prefer granular control over the look and feel of your form, you can create customized CSS that will override the style settings created by Winshuttle Composer.
|
|
|
The CSS editor screen opens. You can enter your CSS directly into the editor, or you can copy and paste from another source (CSS editor, etc.).
Click Change Theme to change the look of the Composer CSS Editor.
The
|
Sample CSS in the Winshuttle Composer CSS Editor |
The CSS editor screen opens. You can enter your CSS directly into the editor, or you can copy and paste from another source (CSS editor, etc.)
Click Change Theme to change the look of the Composer CSS Editor.
The ![]() icon marks possible errors or items of importance. Click the icon and a tooltip will display more information.
icon marks possible errors or items of importance. Click the icon and a tooltip will display more information.

Below: Sample CSS in the Winshuttle Composer CSS Editor
