Applies to:
Installing Winshuttle Central Step 2—Installing Central binaries
Back to
Installing Winshuttle Central 10.x
To install Winshuttle Central, log on to the server that is hosting the SharePoint web front end as an account that is both a SharePoint Farm Administrator and a local administrator.
The Setup user account needs the same roles and permission as the SharePoint Farm Administrator account, otherwise the solution cannot be added to the Farm and the eShuttle database cannot be created.
NOTE: The install process is in English, but you can change the locale after Winshuttle Central is installed.
- Right-click Setup, and then click Run as Administrator to start the Winshuttle Central Solution Wizard

- Click Next to see the prerequisites for Winshuttle Central installation. If all the prerequisites are met, click Next again.
- On the End-user License Agreement page, click Next.
- On the Winshuttle Central Site definition page, select a Site Definition mode.
Note: SharePoint 2007/2010 users will not need to select an Experience Version.
Additional information about each mode is below.

- Site Definition: (Recommended) While creating the SharePoint Site, the SharePoint Administrator can see the Winshuttle tab in the Site Templates list. By selecting the Winshuttle template, the SharePoint Administrator or the Site Collection Administrator can create the Central Site.
- Non Site Definition: After installation, the administrator must create the Team site. This feature converts the existing team site to a Central Site. No Custom Site template is installed.
- Experience version: Choose the SharePoint experience version (2010 or 2013) appropriate to the version of SharePoint that the SharePoint Administrator or Site Collection Administrator will use to create the Central site.
- Click Next.
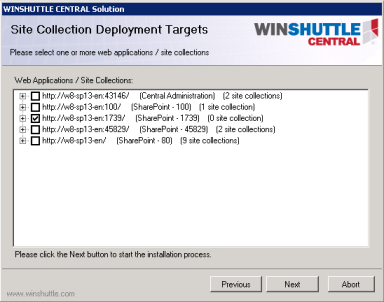
- On the Site Collection Deployment Targets screen, select the checkbox next to the Web application of the SharePoint site on which you want to install Winshuttle Central, and then click Next.
- After the installation is complete, click Next.
- After the Winshuttle Central solution is installed the Winshuttle Central database must be installed. This installation starts automatically, but note that the database installer may take several minutes to start.
If the database installer does not start automatically:
a) In Windows Explorer, browse to the folder where you extracted the Winshuttle Central setup files.
b) Open the folder eshuttledbsetup.
c) Double-click Setup.exe to start the setup manually.
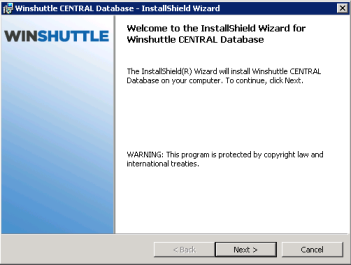
- Click Next to start the Install Wizard for Winshuttle Central.
- Type in your database server name, or click Browse to view all the available servers. Under Connect Using, select the appropriate authentication type. Click Next.

- Click Install to start the installation.
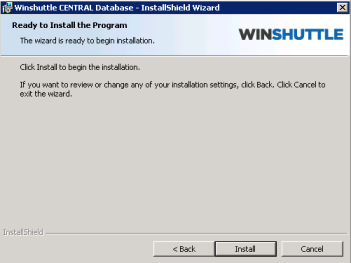
- Allow several minutes for the installation to complete.