Applies to:
- Winshuttle Foundation
Working with nodes
See also
A node is a point within a workflow that represents a step in a business process, such as a task or activity, a decision, or a request for approval. Nodes are assigned to participants by placing them within a corresponding Swim Lane in the canvas.
On this page
Insert nodes into a Workflow from the Composer ribbon (shown below).

Composer workflow nodes overview
Back to topFor some nodes, the Swim Lane placement is important. For other nodes, it is not.
Each node has configurable properties that define the behavior of the node.
Click a node (below) to view its configuration properties.

|

|

|

|

|

|

|

|
|

|

|

|
Adding nodes to a workflow
Back to top
- On the ribbon, click the Workflow tab.
- Click the node you want to insert (for example, the Start node).
- In the canvas, click and drag the mouse in a Swim Lane to draw the node.
|
Tips: |

Deleting nodes
Back to topYou can delete a workflow node by either of the following methods:
- In the canvas, right-click the node and then click Delete.
OR:
- In the canvas, click the node to select it.
- Press the DEL key on the keyboard. Or, on the ribbon, click Delete.
Copying nodes
Back to topYou can copy a workflow node by any of the following methods:
Method 1 (right-click)
- In the canvas, right-click the node and then click Copy.
- Click Paste to paste a copy of the node.
- Drag the node to the appropriate Swim Lane.
Method 2 (ribbon commands)
- In the canvas, click the node to select it.
- On the ribbon, click Copy.
- On the ribbon, click Paste.
- Drag the node to the appropriate location in your workflow.
Method 3 (keyboard)
- Click the node you wish to copy.
- Press CTRL+C on the keyboard.
- Press CTRL+V to paste the node.
- Drag the node to the appropriate location in your workflow.
Changing node properties
Back to topEvery node in a workflow has one or more properties that define settings and characteristics for the node.
To edit the properties for a node:
- In the canvas, click the node you want to edit.
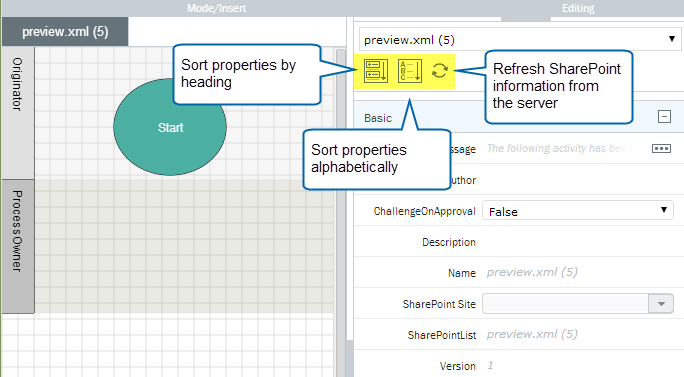
- In the Properties pane, change the node properties.
- You can sort the properties by heading
 or alphabetically
  .
. - Click the Refresh
 to refresh SharePoint information from the server (see below).
See Workflow node types and properties for a description of each node and its properties.
- You can sort the properties by heading
Below: Start node and its properties