Applies to:
Uninstalling Winshuttle Central
Related Topics
Before you begin
- Identify the computers you want to uninstall from and the components you want to uninstall from each computer.
- Ensure that no active connections to the SharePoint Site Collection exist where the Winshuttle Central instance resides.
Note: When the Central site is deactivated, event handlers remain. Document libraries remain, but users cannot log on. If you reactivate Central, the libraries become available for use.
- Make sure no users are logged into the Central sites being uninstalled. The uninstall process affects Central SharePoint components.
- Remove the Central database in the SQL instance of the SharePoint server:
- Log on to the web front-end where Winshuttle Central was installed as local Administrator or as a member of the Administrators group.
- Verify and ensure that you have a current backup of your computer, system, and SharePoint databases.
Uninstalling Winshuttle Central
Back to topTo uninstall Winshuttle Central, do the following:
- Double-click the Central Setup.exe file to start the removal process.
- When prompted at the Winshuttle Central Solution screen, click Next.
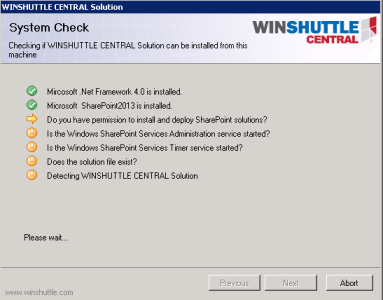
- After the Central Solution System Check finishes, click Next.
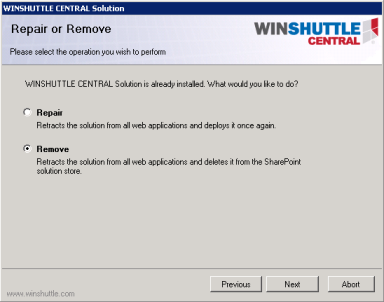
- Click Remove, wait for the process to complete, and then click Next.
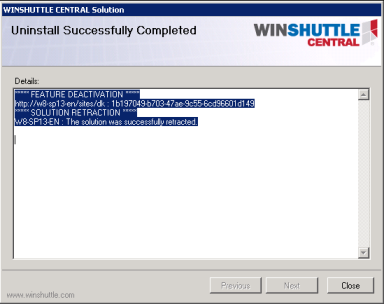
- Click Close on the Uninstall summary screen.
- Uninstall the Winshuttle Central Database through the Control Panel. Click Start, click Control Panel, and then click Uninstall a Program.
- In the list of installed programs, click Winshuttle Central Database, and then click Uninstall.
- Click Yes to confirm uninstallation.
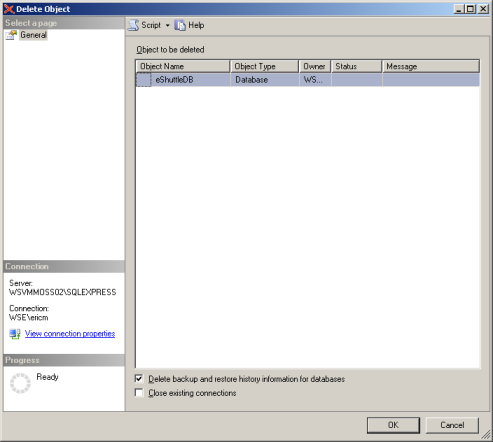
- For a clean uninstall, the eShuttleDB file must be removed from the SQL Server. Go to SQL Server Management Studio (connect the database, if necessary). Right-click Central Database (typically named ‘eShuttleDB’), and then click Delete.
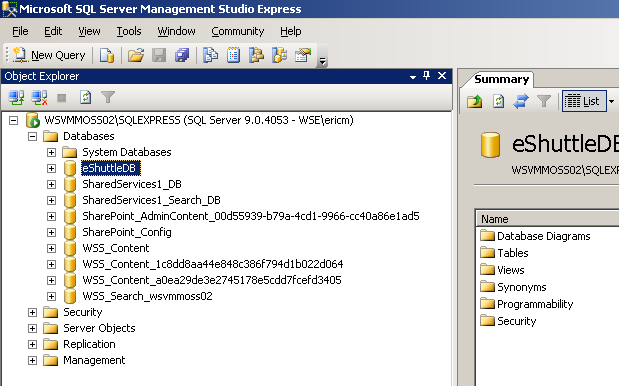
- In the Delete Object dialog box, click OK. If an error appears that indicates that the database cannot be deleted, select the Close existing connections check box, and then click OK.
Winshuttle uninstallation is now complete.