Applies to:
Installing Winshuttle Journal Entry in a Winshuttle Central Environment
Back to
Installing Winshuttle Central 10.x
The following steps only apply if you need to install Winshuttle Journal Entry in your Winshuttle Central environment.
- Copy the Winshuttle Central Plugin for JE to the SharePoint server where Winshuttle Central is installed.
- In the JECentralPlugin folder, run the batch (.cmd) file as an administrator that is appropriate to the SharePoint version and the SharePoint Experience version to which Journal Entry is being installed:
- For SharePoint 2010: DeploySolutionJEPluginwsp.cmd
- For SharePoint 2013: DeploySolutionJEPluginWSP2013.cmd
- For SharePoint 2013 with SharePoint 2010 Experience mode: DeploySolutionJEPluginWSP20132010Mode.cmd
NOTE: If you would like to isolate your Winshuttle Central with JE instance from other instances of Winshuttle Central, consider creating a new Web Application or separate Site Collection. For more information, see Step 1: Creating a Web Application and Step 3: Creating a Site Collection under Installing Winshuttle Central.
Activating Journal Entry features
Back to top- Open the Winshuttle Central administration page.
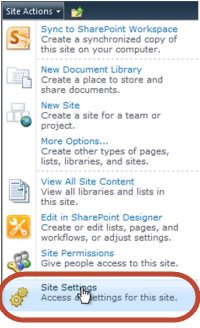
- Click Site Actions, and then click Site Settings.
- Under Site Collection Administration, click Site collection features.
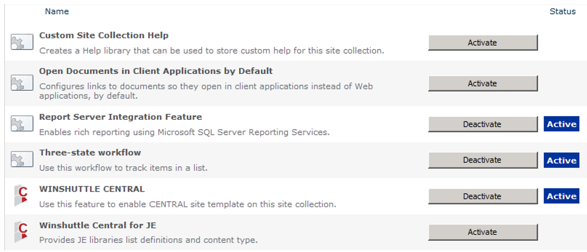
- Next to Winshuttle Central for JE, click Activate.
Now you must activate Journal Entry for the Site Collection Level as well.
- Click Site Actions, and then click Site Settings.
- Under Site Actions, click Manage site features.
- On the Features page, next to Winshuttle Central for JE Doc Libs, click Activate.
Installing default Journal Entry Workflows (optional)
Back to topJournal Entry includes ready-to use workflows in a file with a .WSP extension. This .WSP file contains 3 workflows:
- AuthorWorkflow
- NoReview
- ReviewWorkflow
These workflows should be associated with the following libraries:
- JE Data Templates Library: This library contains files that are submitted by JE Author. AuthorWorkflow will be implemented on this library
- JE Data Files Library: When a JE Runner opens a Central data template (submitted by an Author), and then resubmits the file with related data, The file will be submitted to the "JE Data Files" library. On this library you can implement either a NoReview or ReviewWorkflow workflow. Note that these workflows must be uploaded before they can be used.
To add ready-to-use workflows (JEWorkflows.wsp) provided with Journal Entry, you must first start the Microsoft Sharepoint Foundation Sandboxed Code Service on your sharepoint site.
Starting the Microsoft Foundation Sandboxed Code Service
- From the Windows Desktop, click Start>All Programs.
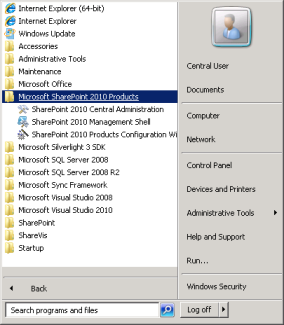
- Click Sharepoint 2010 Central Administration
- Under System Settings, click Manage Serviceson server

- Start the Microsoft Sharepoint Foundation Sandboxed Code Service
Installing the Journal Entry workflows
Back to top- Click Site Actions, and then click Site Settings
- Under Galleries, click Solutions
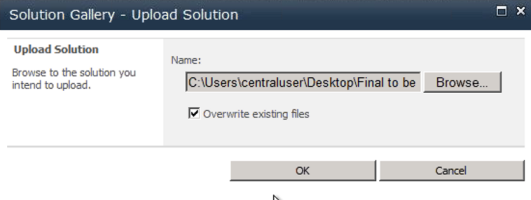
- On the Solution Tab, click Upload Solution
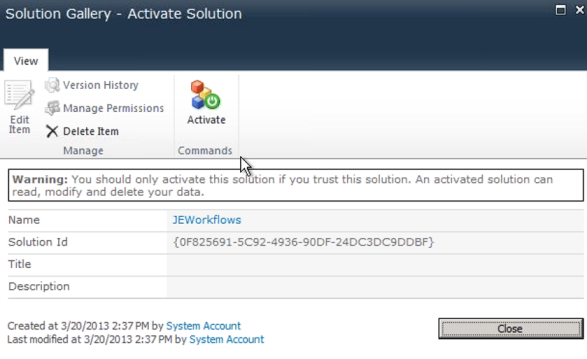
- Browse to the JEWorkflow.wsp file located in the Journal Entry installation folder, and then click OK.
- Click Activate, and then click OK.
- Once activated, click Home.
- Click Site Actions, and then click Site Settings.
- Under Site Actions, click Manage site features.
- On the Features page, next to JE Workflows, click Activate
The workflow can now be applied to your SharePoint libraries with JE Data Files, JE Data Templates, or a library with JEDataDoc as content type
- Prior to applying the workflows: Click Site Actions, and then click Site Settings.
- Click Site Settings, and then click Site Permissions.
- Click Grant Permissions.
- In the Select Users field, type the Users/Groups to which you want to assign permissions.
- Under Grant Permissions, select Add users to SharePoint Group or Grant users permission directly (whichever is appropriate for the environment), and then click OK.

- Click Winshuttle Central Administration.
- Click System Account
- Click Sign in as a different user. Type in your credentials, and then click OK.
- Under Site, click Manage Licenses.
- On the Activated Licenses screen, under Action, click Assign/Search Users for the product you wish to activate. A code should appear in the Select activation field.
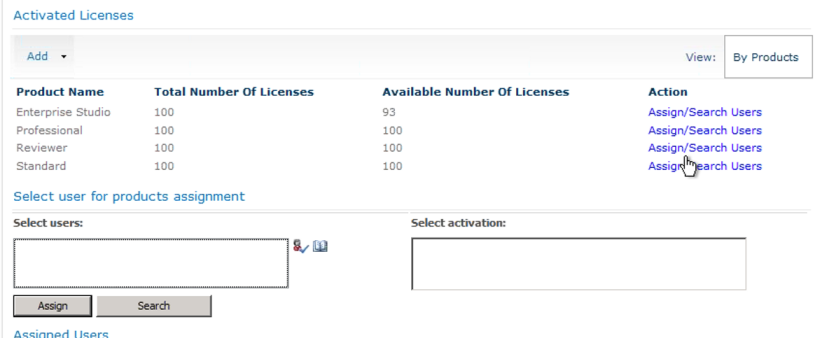
- Click the activation code, and then click Save.
Installation is complete.