Applies to:
Installing Winshuttle Central Step 1—Creating a Web application
Back to
Installing Winshuttle Central 10.x
Web applications define the URL your users will access both SharePoint and Winshuttle content. We recommend defining a host name for your web application that gives users an easy-to-type address, and one that provides a DNS layer of abstraction between the hosts and the content.
For example, if your servers are spwin01, spwin02, and spwin03, instead of using SharePoint’s default web application URL of http://spwin01, define the host name similarly to http://mywinshuttle and create the corresponding DNS entry.
For cross domain access, be sure to define your name as a FQDN (Fully Qualified Domain Name). For example, in the example above http://mywinshuttle would be http://mywinshuttle.mydomain.local.
Be aware that Internet Explorer treats any URL with a period in the name as an internet site and will refuse to pass the Windows token or ticket. Be sure to add these URLs to your local intranet zones so that authentication is seamless.
SharePoint 2013 Web Applications
Create SharePoint 2013 web applications using Claims mode. Classic mode is not supported. Claims mode authentication is the default option when creating a web application through SharePoint Central Administration (Classic is not available).
If you plan to install on an existing Web application, make sure Web application was created in Claims mode.
SharePoint 2010 Web Applications
Create SharePoint 2010 web applications using Classic mode authentication. Claims mode is not supported.
If you plan to install on an existing Web application, make sure Web application was created in Classic mode.
Creating the Web application
Back to topNote: Skip this step if you plan to use an existing web application. If you have a Web Application setup already, skip to Step 2: Installing the Central Binaries.
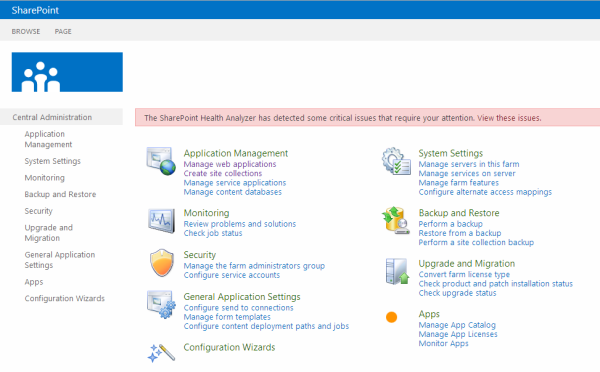
- Navigate to the SharePoint Central Administration page.
- Under Application Management, click Manage web applications.
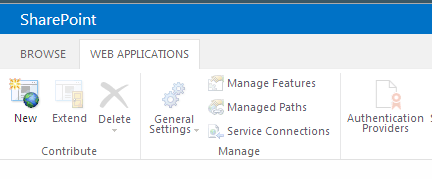
- At the top left of the page, click New
- On the Create New Web Application page, enter a designated port for the Web application to communicate with.
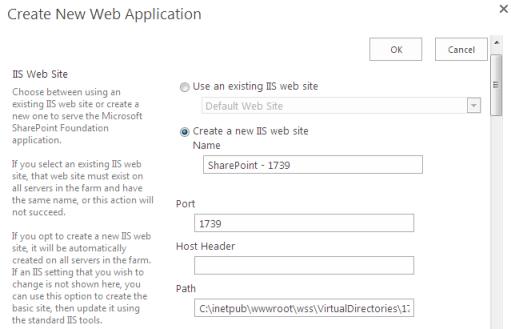
- Enter the credentials of the account that you want to use as the web application service account. (See Account Requirements for additional information)
- Click OK to create the web application. The process may take a few minutes to complete.
- After the Web application has been created, it will be displayed on the Manage Web Applications page

- After the web application is created, open a command prompt with administrative privileges on the server.
- At the prompt, type IISRESET, and then press enter.