Applies to:
Container elements
|
The following table summarizes the Winshuttle Composer Container form elements. You can view a list of elements by type (All, Basic, Helper, Advanced, Container) by clicking the links at right or using the navigation panel at left. |
|
View elements by Type |
|
Element |
Description |
|
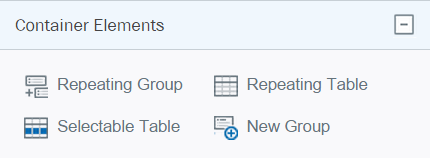
Winshuttle Composer Container Elements
|
|
Add a Group to contain a set of repeating elements. |
|||
|
Add a Table with a configurable number of columns. |
|||
|
Add a Read-Only Table that can run a Rule when a row is selected. |
|||
|
New Group |
Add a new group to your form for containing other form elements. This is the same function as the New Group icon on the Composer Ribbon.) See Working with Groups for additional information. |
Working with tables
Adding a table to a form
|
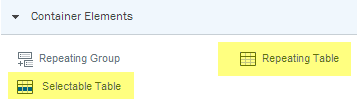
Composer table elements
|
Changing column headers
Tip: After renaming a header, you can press the Tab key to go to the next one. |
|

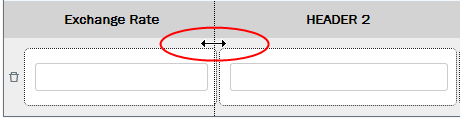
Changing the width of a table column
|
To change the width of a column, click (and hold) between two columns until the cursor changes, then drag the column to the desired width. |
|
Inserting, moving, or deleting columns
|
Right-clicking a table column opens the table menu.
|

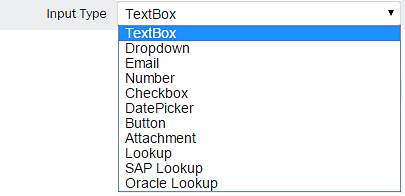
Changing a table column to a drop-down box
|
In the canvas, click in the table cell that you want to convert to a drop down box.
This will change the table cell to a drop-down box, but you will need to configure the drop-down box with the list of options that you want.
|
|
 .
.
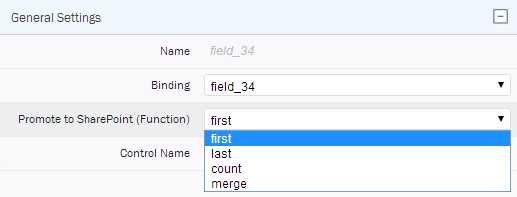
Promoting fields to SharePoint
|
The Promote to SharePoint (Function) mimics the same capability used in InfoPath to promote field values to a SharePoint site. The values are as follows:
|
|