Applies to:
Installing Winshuttle SAP Integration Server 11.x
2. Installing the Server Manager
Installing SAP Integration Server 11.x
Installation overview & architecture
- Installing the Service Bus (RabbitMQ and Erlang)
- Installing Server Manager
- Installing Server Worker
- Installing Server Worker Launch GUI
Completing SAPIS installation
Related Topics
The SAPIS Manager is the IIS site that receives incoming requests for SAP interactions. and then populates the SAPIS Queue for Winshuttle Worker to process. Once processed, SAPIS Manager delivers the results of the interaction to Winshuttle Foundation.
- Open the Winshuttle SAP Integration Server Installer, and then click Next.
- Read and accept the License Agreement, and then click Next.
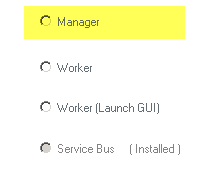
- Select Manager, and then click Next .

- In the IIS settings screen, enter the following information, and then click Next:
- A Web site name. This is shown in IIS manager on the IIS server.
- The installation path
- The TCP Port you want Winshuttle SAP Integration Server to use.

Note: If you plan to use SSL (Secure Socket Layer), change the Address to HTTPS, and then select the certificate for SSL from the drop menu to assign the SSL certificate to your TCP port.
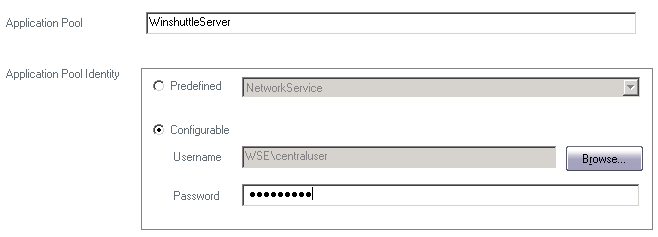
- In the Application Pool field, enter a name for the Application pool. In the Application Pool Identity section, select either Predefined (to use a predefined identity), or Configurable (to enter a username and password for the pool identity).
- Predefined: This option automatically selects Network Service as the IIS account used to run the application pool.
- Configurable: Enter (or Browse) to a Username, and then enter the password for the user.

Note
- Winshuttle recommends using a domain account as the Application pool identity.
- This domain account should be the same account that will run the Winshuttle Worker Window Service.
- Click Next.
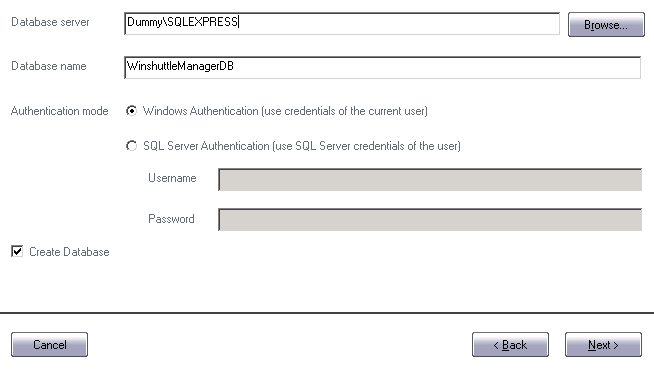
- On the Database Details screen:
- Database Server: Enter the path\name of the SQL Server.
- Database Name Enter the name for the SQL database.
- Authentication Mode: Select either Windows Authentication or SQL Server Authenticaion.
Click Next.

- Click Install.
- Click Finish.